How-to Guide & Ideas for Painting Christmas Ornaments in 2025

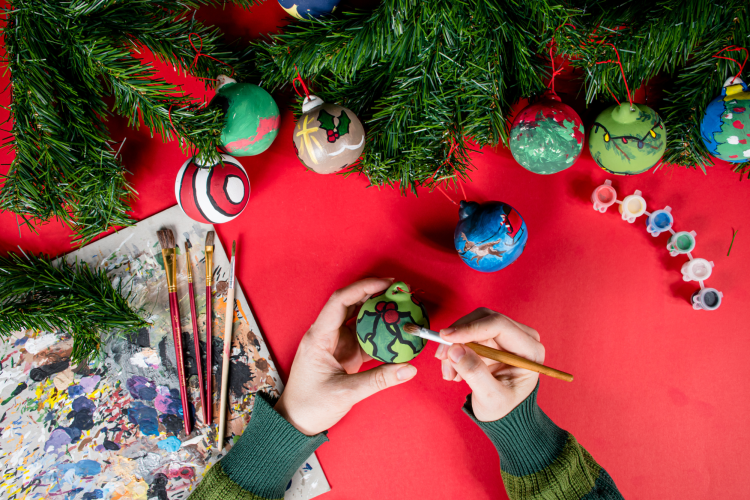
Painting Christmas ornaments is a fun way to add a personal touch to your holiday celebrations this year! Not to mention a fantastic craft to soothe your seasonal anxieties, as well as being family-friendly Christmas art projects for the whole household. So dive into this article to figure out where to start your ornament painting journey!
Jump to Section
Painting Christmas Ornaments for Beginners

Arts and crafts play a pretty important role in controlling stress and enhancing relaxation. In fact, a study published in the journal FORM Akademisk states that the act of crafting can help us to fail safely and handle our emotions better. So let's get crafty by painting Christmas ornaments to our hearts' content.
How To Paint Ornaments With Acrylic Paint

Let's start understanding the practicalities of painting Christmas ornaments. Glass or plastic ornaments might be the easiest to hand-paint. They're also more cost-effective, so if you're working with a child (or someone clumsy), you might want to stock up on the plastic baubles. For adult projects, glass is most effective because the paint (especially acrylic paint) sticks better with this medium.
Here's how to paint your glass or plastic ornaments:
- Gather your supplies: Collect all the objects and materials you'll need like the ornaments, paints, paintbrushes, water and towels, masking tape and sealant. What kind of paint do you use on Christmas ornaments? A few types will work. Acrylic may be the most common, but chalky paints can work, as well as spray paint. This is covered in more detail in the “Beginners” section.
- Prepare your workspace: Wrap your workstation in something easy to clean up like a drop cloth, plastic tablecloth, or contractor's paper. Gather all the supplies you'll need before you begin, like plastic or glass ornaments with the tops removed and a set of acrylic paint colors, brushes, a cup of water for rinsing etc. For wooden ornaments, prepare a drill or hot glue gun to attach the string later — and make sure your tools are working.
- Clean and prime the ornaments: Clean your ornaments by wiping them in rubbing alcohol or soap and water. This helps to remove any dust or grease. If you're using glass, it's helpful to apply a layer of primer or matte white acrylic paint. This will make the next layer of paint stick better.
- Plan your design: Using a pencil, make a sketch of your design. You could also use painter’s tape to construct your masterpiece.
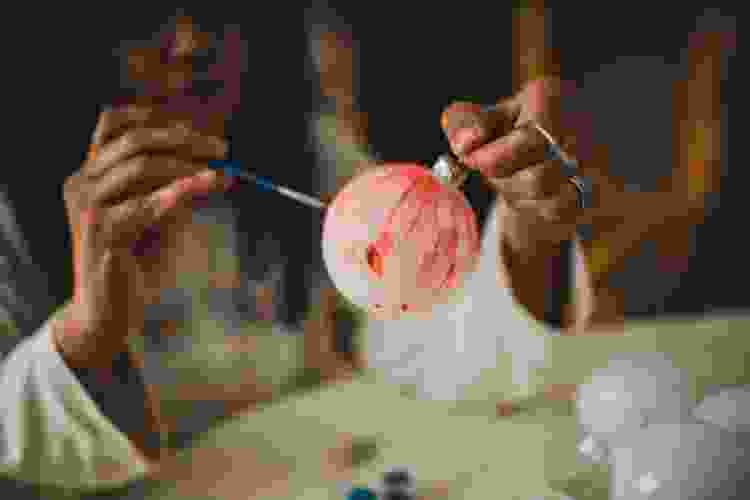
- Paint the base coat: After priming, apply a base color. This is best done with a flat brush for even coverage. Remember to let it dry before adding more layers or details. Top tip: When you're painting, only paint two-thirds of each bauble at a time, so you have somewhere to grip while painting. Once the paint is dry, you can finish up covering the final third of the ornament with your design.
- Add details and patterns: Use a fine-tip brush to craft more intricate designs, like snowflakes, trees, or lettering. A nice hack for painting Christmas ornaments is to use the handle of a brush or a Q-tip dipped in paint for polka dots. You can also add glitter or texture while the paint is still wet. It's easy to clean small mistakes with a cotton swab.
- Seal the ornament: Once the paint is fully dry, apply a clear acrylic sealant to protect the design. It also adds a glossy or matte finish. Once dry add ribbons or hangers.
You can get a little more creative with acrylic paints than you can with other types of paint, when it comes to painting Christmas ornaments. For example, instead of painting a base coat with a brush, pour a single color of paint inside a plate, then gently roll the ornament until the entire inside wall is coated. Use thinner acrylic paints for this method.
Painting Christmas Ornaments Using Papier-Mâché
If you really love to “Do It Yourself”, create your own papier-mâché ornaments! These are relatively simple to paint using a large brush to cover the ornament in a solid color. Paper takes the paint well and for light colors, you may only need one coat of paint. For a pattern on top of this solid color, it's best to keep it simple. Use only work with one color at a time when painting Christmas ornaments using this method. If you're wondering how to paint outside of an ornament, the answer is: Carefully! With paper, you want to be very gentle – another reason why this might be more fun for an adult project, rather than one involving children.
Painting Christmas Ornaments That Are Refurbished

It's also possible to refurbish old plastic and glass ornaments using a mixture of baking soda and water-based paint. Let's see how painting Christmas ornaments that were once discarded could give them new life.
- Begin by priming the surface with a glass or plastic primer to ensure there is no chipping later in the process.
- Cover each of your old ornaments with the baking soda paint (1 tsp of baking soda for each cup of paint) and allow them to fully dry before adding multiple coats.
- If you prefer to add a new color, you can spray paint the ornaments with a metallic colored spray paint — or any color of your choice.
- Once they are completely dry, spray with a protective sealant. For a rougher texture, add more baking soda to the mix.
For the glass and plastic contingent:
- Begin by setting out your supplies and taking the caps off of the ornaments.
- You can paint the inside with acrylic paint, as well as the outside of the ornament, or you could use a chalky finish paint for better coverage in a single coating, which also gives the surface of the ornament a matte-style texture. This makes it easier to add your pattern on top.
- Hold your ornament by its opening while you do your first coat, probably in a solid color as a base for your designs.
- Let this dry for around a half hour before beginning your design on top.
Chalky finish paint is different from chalkboard paint. You need to wait a least three days before you can write on it. It's also latex-based and it's easy to clean up with water. So it's best not to use chalk paint if you have a latex allergy.
How To Dry Painted Ornaments

You can create a drying rack for these types of ornaments (the type with a removable top), by inserting cake pop sticks or chopsticks into a section of craft foam — this way you can hang the ornaments upside down on the sticks to dry. Make sure they aren't so close together that your baubles will touch and smear each other's paint!
Another form of drying rack when painting Christmas ornaments is to create holes in the bottom of a cardboard box and flip it upside down, then put the post part of each ornament in a hole — this keeps the ornaments steady and in place, allowing you to work on the entire orb at once. Let your final design dry for a full hour.
How Do You Seal Paint on Christmas Ornaments?
After the paint is dry, you could use something like an acrylic gloss that you spray on (let dry between coats, coat more than twice). There are many similar products like this. The sealant is most effective on glass baubles, especially when you've added other textures to your design like gluing on glass beads or colorful stickers to add to the shining effect. Some sealants even have glitter built-in! How's that for a great tip for painting Christmas ornaments.
How to Create Hand-Painted Wooden Christmas Ornaments

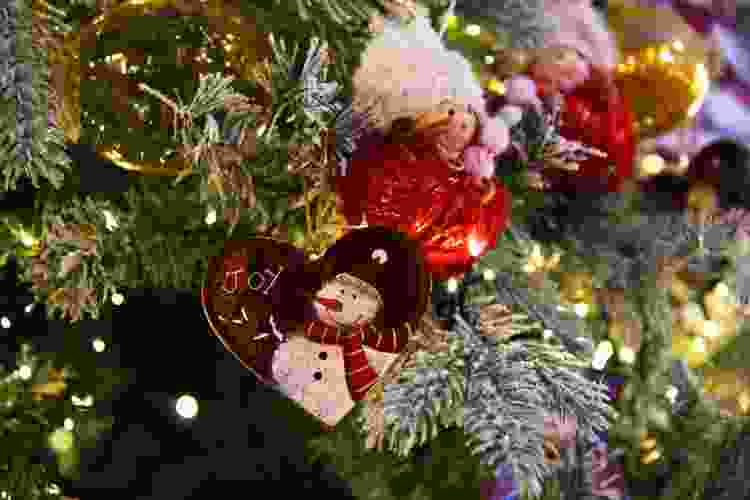
Hand-painted wooden Christmas ornaments are a classic way of creating a simple and elegant evergreen decoration — with a Scandinavian influence. You can also use ornaments made of clay or cookie dough and salt, which can be equally delightful and simple to paint. Either way, these are marvelous Christmas tree decorating ideas.
- To start, if your wood is rough, you should sand it. This can make it easier to paint as well as prevent you from getting any splinters.
- Create your pattern with masking tape and then apply the pattern to the wood. It's important to note that the paint will be where the tape is NOT, so cut the tape pattern in the reverse of what you want your pattern to look like. For example, to create one long stripe around the center, tape two strips on the top and bottom of the ornament to leave a stripe open in the middle for the paint.
- Paint gently on the exposed sections of the wooden ornament — be careful at the edges to avoid paint creeping under the tape.
- Allow the paint to dry for around an hour before adding a second coat or touch-ups (or additional details).
- Wait until the paint has completely dried before peeling the tape off.
- Finally, drill a small hole in the ornament post and insert a screw eye hook or hot glue a piece of string to the top of the ornament, with the knotted end on the ornament. For safety, we recommend protective gear such as safety glasses and heat-resistant gloves for glue gun operation.
Easy Ideas for Painting Christmas Ornaments
1. Plant Life

Try painting Christmas ornaments with a classic floral or evergreen motif. Whether you're painting leaves or flower petals, it's both difficult to mess up and a ton of fun! You could even work with Christmas plants like poinsettias, holly or cedar.
2. Dash Pattern

When working with something cute, though seemingly simple, you can give it a little more depth with two coats in different shades. Start painting Christmas ornaments with the color you want to be on the bottom (the “shadow”) and paint dashes all over the ornament. Let this dry for approximately a half hour. Once dry, you can add the accent color dashes on top of each dried dash. Let these overlap slightly to create the effect of a shadow peaking out from under the top color. This is a thrilling way to decorate your hand-painted Christmas ornaments.
3. Stripes

While these would be fun to create on a glass bulb with a variety of colors, it might be an easier pattern for the wooden ornaments, as you can easily create the stripe design with masking tape. The stripes will look straighter with the assistance of the tape, while on the glass they may turn out wavy.
4. Scalloped Edges
Another set of ideas for painting Christmas ornaments that works well with masking tape on wood is scalloped edges. A gorgeous design, this can be a bit difficult to create free-hand.
5. Holiday Shapes

Christmas painting ideas take a turn for the cute when you cut out shapes from masking tape to decorate your wooden ornaments. You can try creating snowmen and flakes of snow. You could also paint shapes free-hand on a plastic or glass bauble to make a more colorful red-nosed reindeer. Put your artistic abilities to the test!
6. Spray Paint

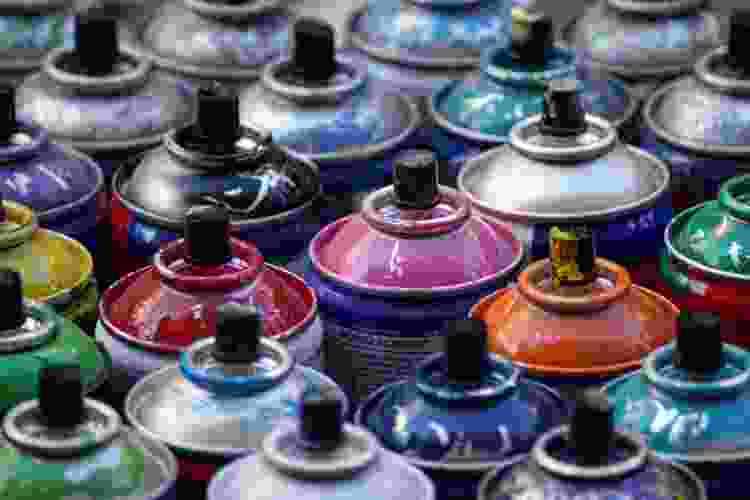
What kind of paint will stick to plastic ornaments? Aside from acrylic, spray paint will work. While less precise, it can be a lot of fun to play with spray paint of various colors! Young ones will definitely enjoy the playful energy of this idea for painting Christmas ornaments.
As you start your ornament creation and design journey, don't forget to plan out the other parts of your Christmas activities like when you're going to buy your tree (or cut it down in the woods) and when to pull the boxes of other household decorations out of the attic. If you're too busy to go hunting for your lost boxes, you might find a list of DIY Christmas decorations handy.
For even more fun DIY Christmas gift ideas, check out other experiences happening on Classpop!

