How To Make Stickers Step By Step for 2025
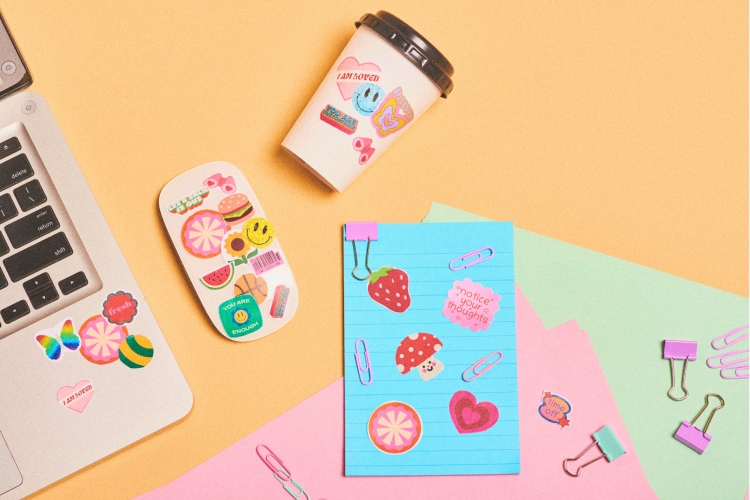
If you’re looking for a new way to be creative, you may have thought about how to make stickers. Stickers are a unique way to display your art or express your unique style and personality.
Those who draw or do digital art can turn their work into tiny masterpieces that can be displayed anywhere. Or you can turn your favorite photos into stickers to put on notebooks, water bottles or even laptop covers.
You perhaps may even want to start a sticker business to make a little extra money on the side. Many experts say you can make a profit of about $2.40 to $4 per sticker, according to My Wife Quit Her Job. This means you can make a few hundred dollars per month with a successful business model.
Whether you want to make stickers one time, as a creative hobby or as a business, your first question is probably, “How do you make your own stickers?” Well, there are a few methods you can use that range in ease and the types of tools you use. Luckily, it’s pretty easy to learn how to make stickers step by step and many people will be able to do it in their own home during their spare time.
If you’ve ever wanted to learn how to make stickers, we’ve created a helpful guide of a few methods to try!
Jump to Section
- How To Make Stickers From Photos
- How To Make Digital Stickers
- How to Make Stickers Using a Printer
- How To Make Stickers With Tape
- How to Make Reusable Stickers
How To Make Stickers From Photos
You Will Need
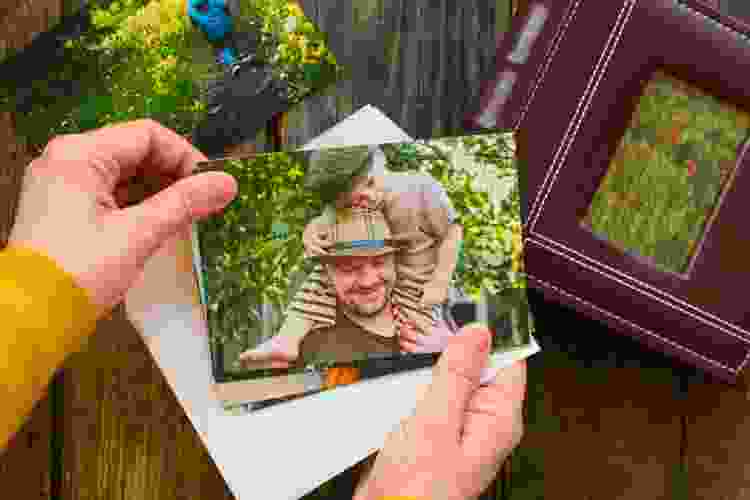
If you’ve ever wanted to turn your favorite photos into stickers, you’re in luck. The process is easy and there are a few ways you can go about it. So, here’s how to make stickers from photos you already may have sitting around and what you’ll need for the project.
If you already have pictures printed out, you can learn how to make stickers with them using a few common craft supplies. You’ll need double-sided sticker paper and scissors along with your printed image.
There are many different ways to print out your favorite photos and designs using a printer and that will be covered later. This project is for pictures that are already printed or polaroids.
Turning your favorite photos into stickers makes for fun arts and crafts for adults. This would also be a fun project to do with friends for a creative bonding day.
Another option with photos is to make digital stickers you can use on your phone in text messages and notes. For this project, you’ll need a digital version of the photos on your smartphone.
Instructions
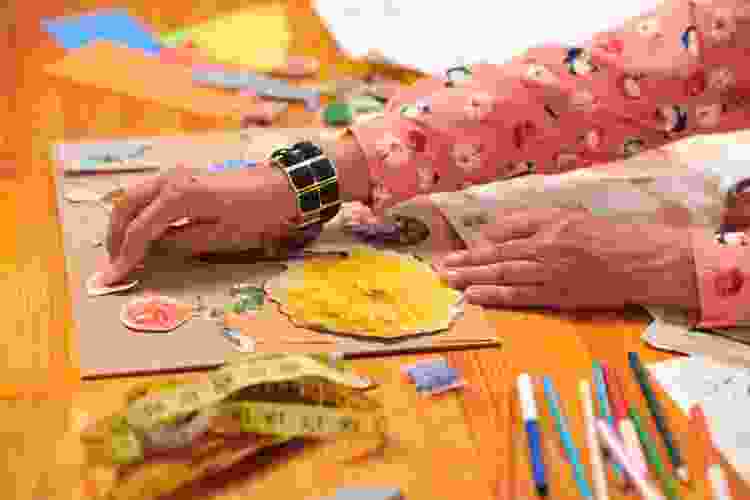
Here’s how to make stickers from photographs. Gather the photos you want to turn into photos. Remove the paper off one side of the double-sided sticker paper. Then, carefully place your photos on the adhesive with the image facing up. You can cover the entire sheet with photos or cut out a piece that is slightly larger than your photo.
Then, firmly press down on the image to ensure it’s securely adhered. Then, you can leave the photo whole or cut out a shape around the image. When you’re ready to stick it to something, remove the backing and place your photo.
Learning how to make stickers from your photos is a fun craft idea anyone can do. They’re a unique way to display your favorite memories. Or you can use them in journals or scrapbooks.
How To Make Digital Stickers
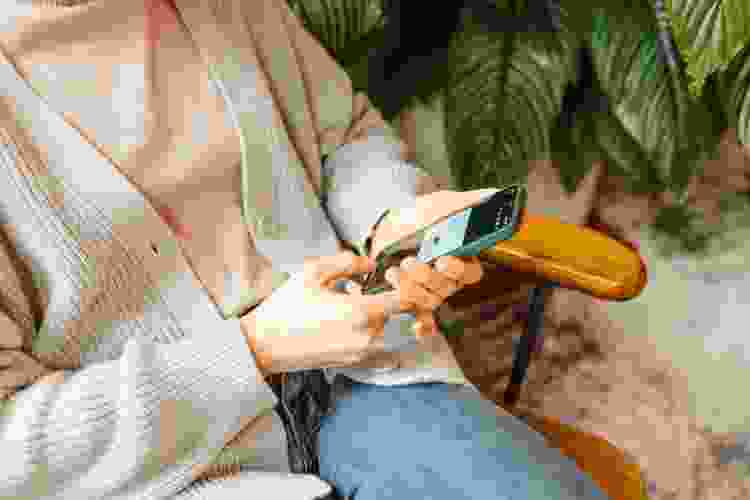
You can also turn your photos into digital stickers you can use on your phone or send to friends. So, wondering how to make iPhone stickers? It’s pretty easy. An iPhone that has iOS 17 or higher can turn the subjects in photos into still or animated stickers.
To do this, first go to the Photos app. Select the photo you want to turn into the sticker. Touch and hold the subject of the image and then release. The subject can be a person, a pet or an object in the photo. When you release, an option bar will appear. Tap ‘Add Sticker.’ This will remove the background and turn the subject into a sticker.
You can also add an effect to the sticker if you want. You have the option to create an outline, comic or puffy visual effect to the image. Once the sticker has been saved, you can access it on the keyboard or Markup tools.
The process is the same for turning Live photos into stickers and they will be saved to the same spot. Live photos can either be moving or stationary. To turn on the Live feature with stickers, be sure the Live effect in the top left corner of the sticker menu is turned on when the photo is selected.
Now that you know how to make stickers on an iPhone, you can send them in text messages to friends, use them in the notes app or create digital scrapbooks of all of your memories.
Whether you’re learning how to make stickers from photos or how to make stickers on an iPhone, you can get inspiration from online art classes. Learn painting and drawing techniques to turn works of art into stickers. Or discover the basics of photography to give your images a professional touch before turning them into stickers.
How to Make Stickers Using a Printer
You Will Need
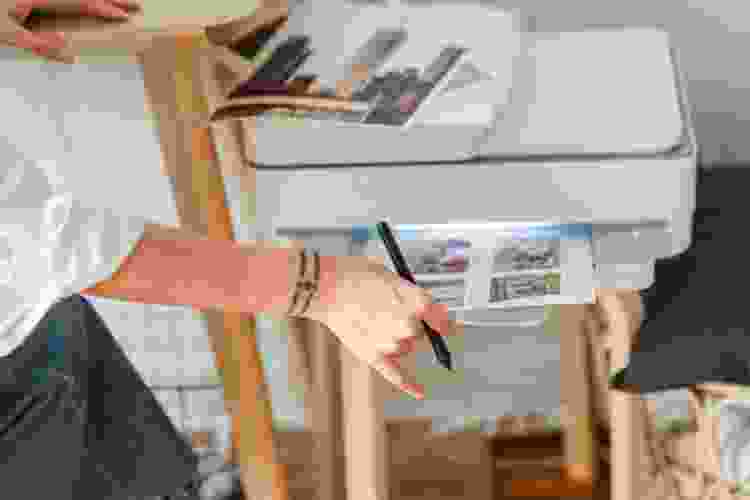
You can turn any design or image into a sticker when you learn how to make stickers with a printer. Using a printer is one of the best ways to make professional-looking stickers, especially when you have the right equipment and materials. If you want to learn how to make stickers to sell for a business, this is what you’ll need.
First, you’ll need design or illustration tools to draw or design the images you’re turning into stickers. You can use something like an iPad with Procreate; however, there are many different tools and software available.
Next, you’re going to need sticker paper. The four common types of sticker paper are matte, clear glossy, white glossy and vinyl. Which you use depends on the look you desire for your stickers and also the function.
Then, you’ll need either an inkjet or a laser printer. Most homes have an inkjet printer and these are good for printing small amounts of stickers. If you want to print a larger volume or faster, opt for a laser printer. You’ll also want to ensure that the sticker paper you buy is compatible with the type of printer.
Of course, you’ll also need ink for these printers. Be sure you’re purchasing the right type for the kind of printer and the brand. Also remember that if you want your stickers to be waterproof, you’ll need to buy waterproof ink.
Finally, you’ll need cutting tools. If you’re making stickers as a hobby or a small amount of stickers, scissors or an exacto knife are good options. However, if you’re looking to start a sticker business or print a large number of stickers, you may want to invest in a cutting machine like a Cricut or Silhouette, both of which would make great gifts for crafters.
Printing out stickers may have the biggest investment upfront. However, it is the best way to create professional-looking products, especially if you’re looking to sell them. Plus, the process of how to make stickers can be streamlined a little easier.
Instructions
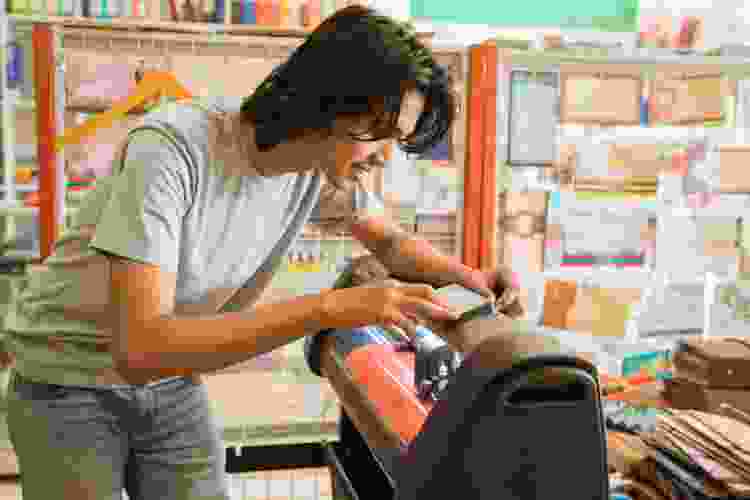
So, are you wondering exactly how to make stickers with a printer? Once you have the materials and equipment, the process is straightforward. Here’s an overall guide for how to make stickers using a printer.
First, start by drawing your image or designing your graphic. Once you’re satisfied with your piece, save it in a good printing format. Load up your printer with the correct ink and your choice of sticker paper. Then, print your design onto the printer paper.
So, how do you make stickers with vinyl? Simply use vinyl sticker paper. This is one of the most popular options for sticker making because it’s high quality and tends to be the most durable. Vinyl is waterproof and UV-protected, so it won’t smudge or fade, making it a great option for car bumper stickers, water bottles, skateboards, computers and other items that might get daily or heavy use.
Now that your stickers are done printing, you can cut them out. If you’re cutting the stickers manually with scissors or an exacto knife, move carefully and leave a few inches around the design as a border. If you’re using a cutting machine, you’ll have to read the directions to program the machine to cut properly. Once it’s finished, you’ll have stickers ready to use!
An option step is to apply a clear coat or two of acrylic spray, which can add some waterproofing if you don’t use waterproof ink. However, test out the spray on a scrap piece of material before using it on your stickers.
Once you learn how to make stickers, you can customize the process even further to work best for you. Then, you can make stickers to give to friends and family, use as decor or sell.
How To Make Stickers With Tape
You Will Need
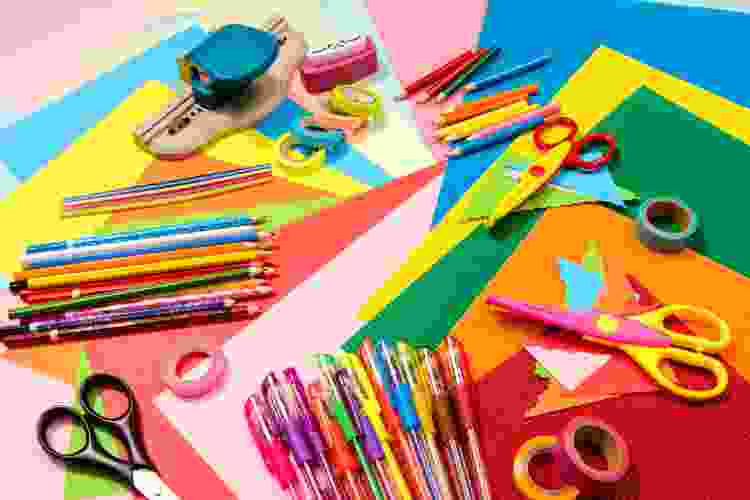
You won’t always need expensive equipment and specialized materials to make stickers at home. It’s easy to learn how to make stickers with tape and use common household items as the rest of your supplies. Learning how to make stickers using tape is a great option if you’re looking for a budget-friendly or quick DIY project.
The first material you’ll need is clear packing tape. You’ll also need parchment paper and printer paper. To create your design, you’ll need coloring materials like pens, pencils, markers and an eraser. Finally, you’ll need scissors to cut out your design.
If you’re wondering how to make stickers for kids, the tape method is a great option. It’s easy, inexpensive and can be done as a quick weekend project.
Instructions
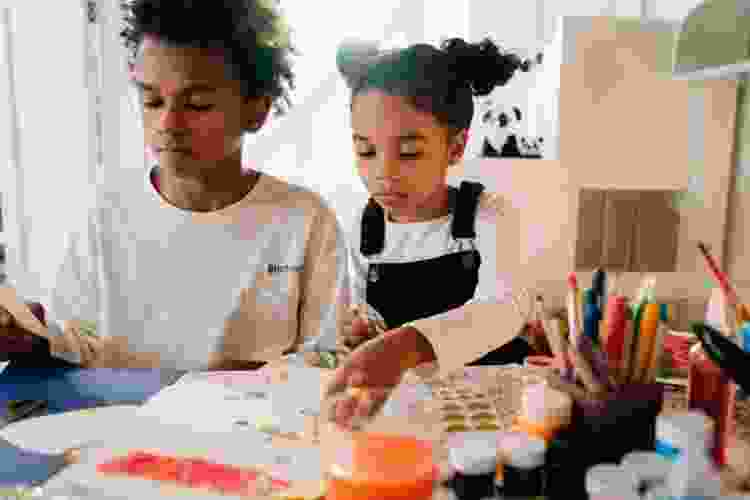
Learning how to make stickers with tape is simple and it only takes a few steps to complete. To start, draw any design you want on the printer paper. It can be as simple or detailed as you want. Once you’re finished, cut out the design, leaving a border around the edge.
Cut a piece of the clear packing tape so that it’s slightly bigger than the design. You can stack two pieces of tape to create a wider piece if the design is wider than a piece of packing tape. However, it’s important to note that this may create a visible seam.
Place the tape on the parchment paper and press down. Then, lay the design on top of the tape. Be sure the design is smaller than the tape. If not, you will have to lay more tape on the parchment paper.
Then, repeat the steps with another cut piece of tape and place it on the front of the design. Do so carefully so the design is flat and covers the piece of tape. Rub the front of the design to ensure the tape is fully adhered and there are no air bubbles. You can use a card or a penny to push the air bubbles off the design.
To finish off your homemade sticker, use the scissors to cut out around the design. Remove excess tape and parchment paper while leaving a 1-inch border. Now your sticker is complete! When you’re ready to use it, remove the parchment paper backing and stick it to your desired surface.
You can also use this method how to make stickers with printed images if you don’t want to draw your own design. You can print a photo or design onto printer paper for this project. Just be sure to use water-resistant ink when printing out your images to ensure that it works.
Discovering how to make stickers using common household supplies like tape and markers makes one of the greatest winter crafts for kids. They’ll be delighted to turn their art pieces into stickers they can display anywhere. And parents will love that they don’t have to purchase specialized or expensive tools to create the project.
How to Make Reusable Stickers
You Will Need
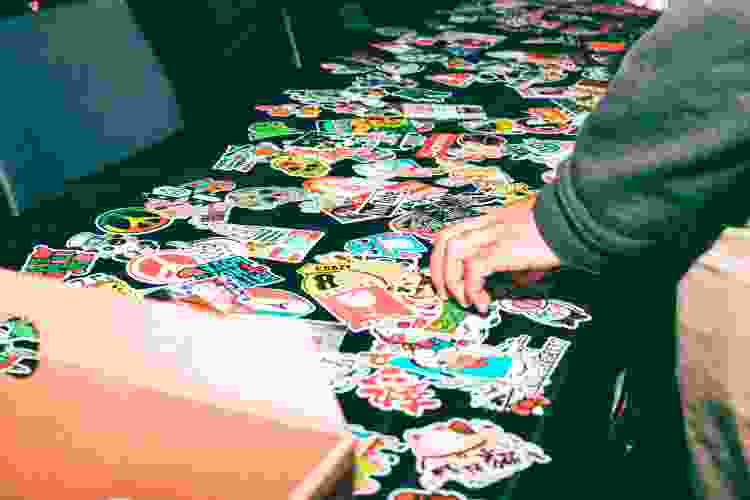
Many people love stickers. But one complaint is that once you stick it to something, it’ll stay there. But for those who may want to move their stickers or reuse them, there are options. Wondering how to make reusable stickers? Well, it’s pretty easy. And it doesn’t require many materials.
If you’re wondering how to make stickers you can use and remove, here are the materials you’ll need to gather. For this project, you’ll need repositionable glue, such as Aleene’s Tack It Over and Over Again and the image you want to turn into a sticker. You’ll also need printer paper and scissors. And laminating paper may also come in handy.
This is a great method for learning how to make stickers for kids as young as three years old. Because they’ll be able to move them, they’ll have endless options for what to do with them. They can move them around their room to redecorate. Or they can create a reusable sticker book that can make for a fun playtime activity. Read on to find out how to make stickers you can use over and over again.
Instructions
Here’s a quick guide for how to make stickers you can use multiple times. You’ll want to start by creating your image. Kids can draw out a picture, you can print something from the computer or you can also use photos.
Once you have your images, you can use the laminating paper to cover it. This will protect the image from smudges or from the dye running if it gets wet. It also helps make the sticker more durable, so there is less of a chance of it ripping when removing and reusing it. Be sure to press the laminating paper down so it’s fully adhered to the image. You can use a credit card or penny to press out any air bubbles.
Next, you’ll want to use scissors to cut out the image, leaving a border around it if you desire. Then, turn the image over to the backside. Spread a thin layer of the repositionable glue on the back of the sticker. Let the glue completely. This can take about a day but check the instructions on the bottle of glue. Once the glue has completely dried, your reusable sticker is ready.
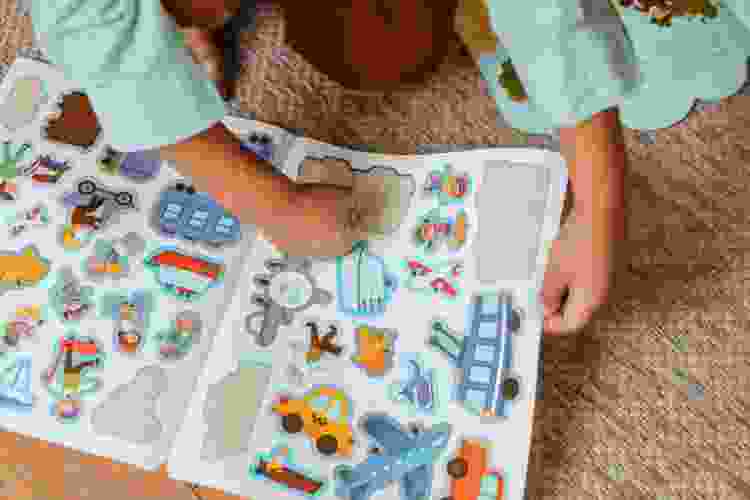
Reusable stickers make fun Christmas crafts for kids to make holiday decor they can display around the house. These would also make great quick gifts for family members. Turn holiday family photos, kids’ school photos or kids’ art projects into reusable stickers to give to friends and family. They can display them on the fridge, walls and more!
Learning how to make stickers can create a fun pastime for anyone looking for a new creative outlet. Turn your original designs, drawings and your favorite photos into small works of art that can be displayed anywhere.
You can learn a few methods for how to make stickers in your own home whether you want to turn it into a business or simply enjoy a new hobby. This fun guide proves that anyone can learn how to make stickers step by step!
For even more fun craft ideas, check out other experiences happening on Classpop!

