How to Make a Picture Frame at Home in 2025
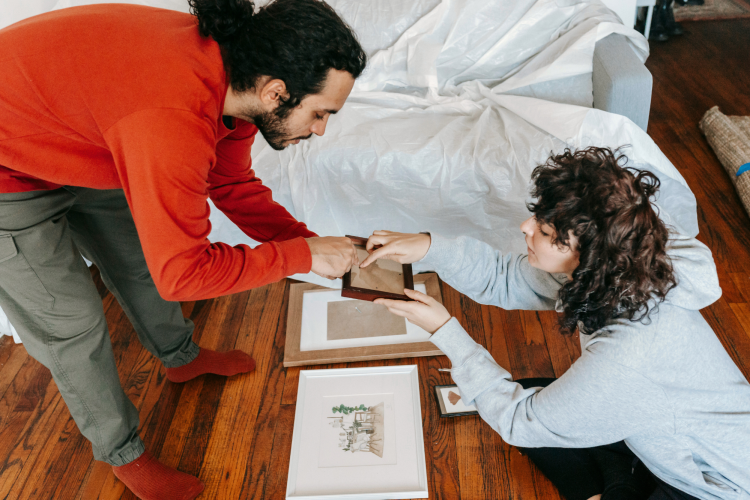
Learn how to make a picture frame in a few easy steps with this guide. Creating a picture frame from scratch is rewarding and cost-effective. According to HomeGuide, the average cost of a custom picture frame ranges between $50 and $500. So this method is much, much cheaper. Plus, it’s a super fun craft.
This is the ideal project for both beginners and seasoned DIYers who want to try something new. In this guide, we’ll explore how to make a picture frame at home, covering everything you need.
Jump to Section
- Are Picture Frames Easy to Make?
- How to Make a Simple Picture Frame
- How to Make a Picture Frame With Paper
- How to Make a Picture Frame Out of Cardboard
- How to Make Picture Frames From Molding
Are Picture Frames Easy to Make?
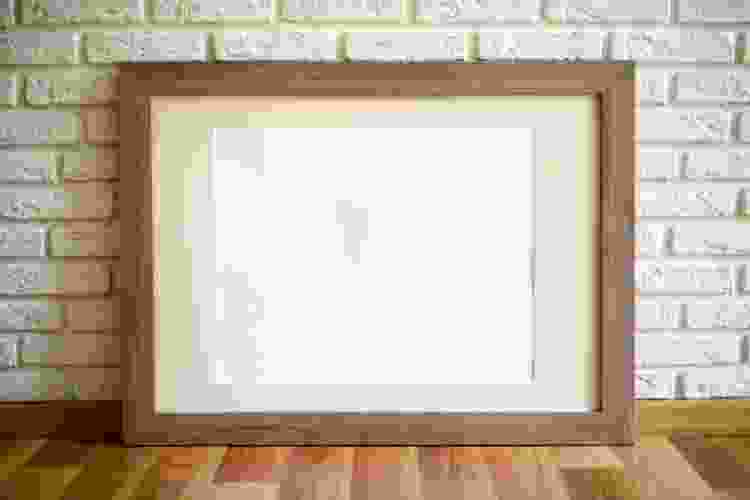
Yes, picture frames can be surprisingly easy to make with just a few basic materials and tools. If you’re wondering, "How can I make a picture frame at home?" the process can actually be straightforward. Many DIY enthusiasts find that building their own frames not only offers a sense of accomplishment but is also customizable to fit their exact needs.
One common question is, "Is it cheaper to make your own picture frames?" Often, it can be! Buying frames from stores can be pricey and custom sizes can be astronomically expensive. A DIY picture frame can be made for a fraction of the cost, particularly when using basic wood and simple tools. What kind of wood do you use to make a picture frame? Pine is a popular choice because it’s affordable, easy to work with and readily available, but many types of wood can work well.
For those interested in learning how to build a picture frame from scratch, the key steps involve measuring and cutting your wood, joining the corners and adding finishing touches. To make a frame with glass, simply cut the frame to the dimensions of the glass, insert the glass panel and secure it with backing. This type of project doesn’t always require specialized tools; a miter box or hand saw, wood glue and clamps can often get the job done.
Making a picture frame out of wood allows for endless DIY home décor customization. You can choose stain or paint finishes to match any décor, and by adding or skipping certain steps, you can vary the design from simple to ornate.
For those wanting to explore how to make a picture frame with glass or experiment with unique trim styles, there are endless creative possibilities. Making picture frames can be a rewarding and cost-effective DIY project, perfect for adding a personal touch to your home décor.
How to Make a Simple Picture Frame
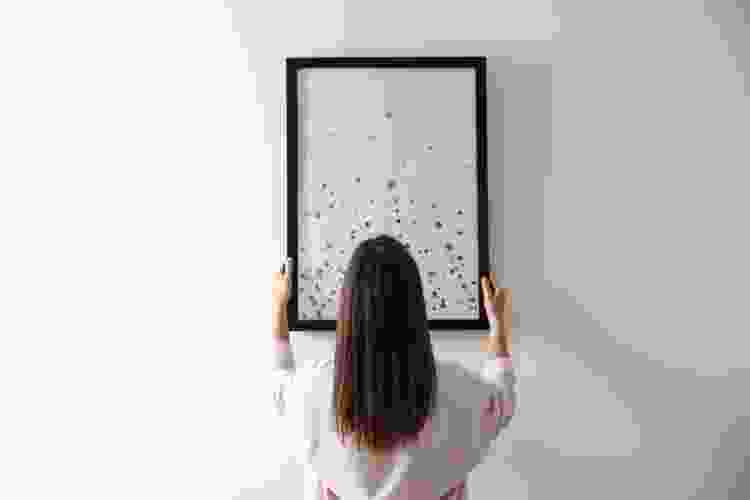
Creating a custom picture frame at home is a quick and budget-friendly project that brings a unique touch to any décor. In just under an hour, one can make these frames, including staining, for around $5 each. It’s a surprisingly affordable DIY compared to store-bought options. A quick trip to the hardware store will provide all the necessary supplies.
Materials
-
1/2 in Pine boards
-
Screws
-
Screwdriver
-
Clamps
-
Tape measure
-
Pencil
-
Wood stain (any preferred color)
-
Wall hanging hardware
-
Wood glue (optional for added stability)
- Saw
1. Measure and Cut the Boards
Measure the intended frame dimensions carefully. For a 24x20" frame, cut four long boards (for the sides) and four short boards (for the top and bottom), allowing an extra inch for the corners.
2. Attach the Corners
Secure the boards in place with clamps, ensuring a 90-degree angle. Using screws, attach the corners by screwing through the bottom into the sideboard. Pre-drilling holes is optional.
3. Stain the Frame
Choose a wood stain and apply it to enhance the frame's appearance. A lighter chestnut stain, for example, can add a classic look.
4. Attach the Art or Photograph
Once the frame is complete, turn it over and staple the photograph or artwork onto the back of the frame.
How to Make a Picture Frame With Paper
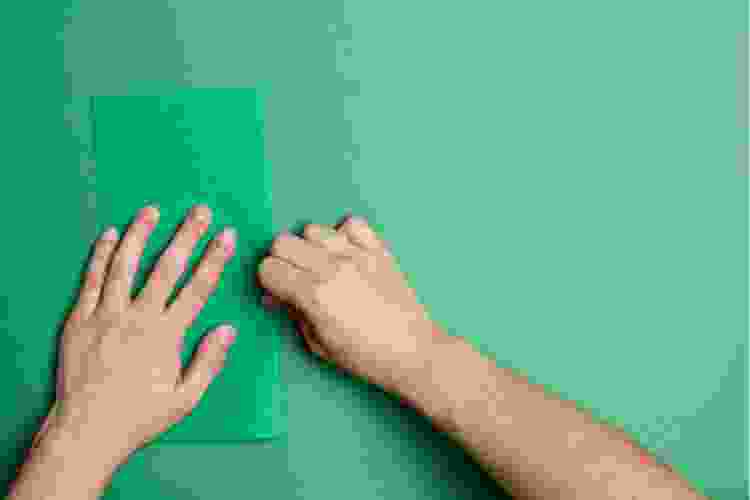
This origami-style paper frame is a quick and creative project for displaying photos. It's an excellent arts and crafts project for adults or kids.
Materials
-
Square sheet of patterned paper
-
Ruler (optional for marking center)
-
Tape or glue
1. Mark the Center
Fold diagonally to create a crease or measure to mark the center.
2. Fold the Edges
Fold all edges inward by about 1 inch (2.5 cm) to create a border around the square.
3. Fold Three Corners to Center
Turn the paper over and fold three corners towards the center.
4. Glue the Corners
Secure the folded corners with glue, leaving one corner unfolded for a stand.
5. Insert the Photo
Slide the photo behind the folded flaps.
6. Make a Stand
Use the fourth corner as a stand or leave it to hang the frame.
How to Make a Picture Frame Out of Cardboard

Repurposing cardboard for photo frames is a fun, eco-friendly project. Take your finished frame and apply some fun canvas painting ideas, too.
Materials
-
Cardboard
-
Photos
-
Ruler and Pen
-
Scissors/Craft Knife
-
Glue Gun
-
Yarn (for décoration)
1. Trace and Cut the Frame
Draw around the photo, adding an extra line for the frame width. Cut out the center to create the viewing area.
2. décorate with Yarn
Wrap the cardboard with yarn, securing the ends with glue.
3. Attach the Photo
Glue the photo to the back of the frame.
Looking for more ways to get creative with your framing? These DIY picture frame ideas are full of fun, easy ways to make something that feels totally your own.
How to Make Picture Frames From Molding
Creating a picture frame from molding adds a polished, sophisticated touch to any space, perfect for highlighting cherished artwork or photos with a customized look. This project uses baseboard and décorative trim to achieve a layered, professional aesthetic, making it an ideal DIY for those looking to elevate their home décor.
Materials
-
Baseboard molding: Choose a thick baseboard for the frame's primary structure and add a décorative trim molding for visual interest.
-
Measuring tape: Essential for precise measurements, as accuracy ensures a tight fit for your artwork.
-
Wood glue: Helps bond the molding pieces together securely.
-
Sandpaper: For smoothing out any rough edges or uneven joints.
-
Corner braces and screws: Adds strength and stability to the frame.
-
Optional: Miter saw or miter box for angled cuts, sponge brush for glue application and caulk for sealing gaps.
1. Measure and Cut Molding
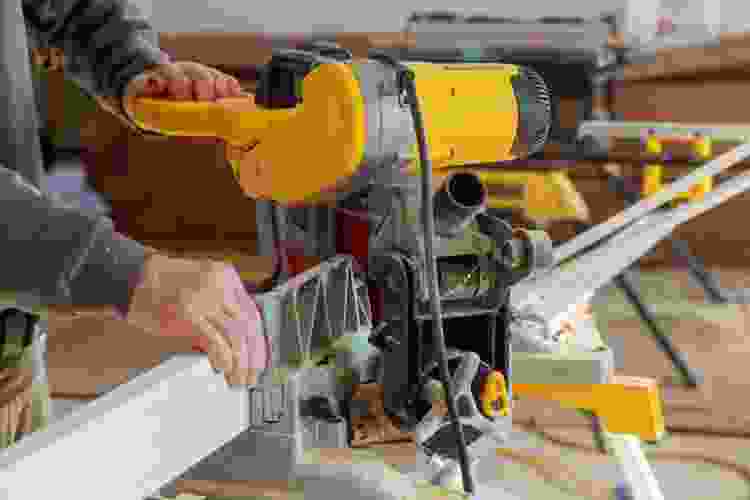
Begin by measuring the dimensions of your artwork or canvas, then add about 1/4 inch for wiggle room. Cut four pieces of baseboard molding to these measurements, ensuring each piece has a 45-degree angle at the ends. This angled cut will allow the corners to meet in a seamless miter joint, giving the frame a professional finish. If you’re new to angled cuts, using a miter box can help guide your saw for precision.
2. Assemble décorative Trim
Next, take the décorative trim and cut it to match the baseboard pieces, again using a 45-degree angle for each end. This trim will create a layered effect on the frame. Apply wood glue to the back of each trim piece and attach it to the baseboard, aligning them carefully to ensure an even border around the frame. Press down firmly and use clamps to hold the pieces in place while the glue dries. Check the alignment frequently as the glue sets to keep everything straight.
3. Secure Corners and Sand
Once the glue has dried, flip the frame over and attach corner braces on the back of each corner for added stability. These braces prevent the frame from loosening over time, especially if it’s a larger or heavier piece. After securing the corners, use sandpaper to smooth out any rough spots or slight imperfections, especially along the edges and corners. Sanding ensures a clean look and allows the paint or stain to adhere evenly.
4. Paint, Stain or Finish the Frame
At this stage, you can choose to paint or stain your frame to match your décor. A matte black or metallic gold finish can create an elegant look, while natural wood stains can emphasize the texture and warmth of the wood. Use a sponge brush to apply the finish, ensuring an even coat. Allow it to dry completely before handling.
5. Add Hanging Hardware
Once the paint or stain has fully dried, flip the frame over and attach a picture hanging kit to the back. For larger frames, consider using a wire picture hanging kit that distributes weight evenly. Position the hooks about a third of the way down each side of the frame, and attach the wire securely. This setup provides a sturdy and balanced way to display your frame on the wall.
Learning how to make a picture frame is easy with this guide! You can use your new frame to try out new painting techniques and new crafting techniques. These frames add some homemade pizzazz to your space and are fun to make.
For even more fun DIY ideas, check out other experiences happening on Classpop!


