How to Make a Paper Boat: Step-by Step Guide for 2025

Discovering how to make a paper boat that floats opens up a world of opportunities for crafting, engaging science projects and more great ways to pass the time. This is a fun activity to do with your children and one that sparks conversation. Learning to make the boats requires only a few materials and a little time and practice.
Are you searching for instructions on how to make a paper boat, step by step? Would you like to use recycled materials to make paper boats for kids? Here’s a handy guide that answers these questions and more. Let’s learn together and prepare to make a paper boat craft while enjoying an afternoon of fun!
Jump to Section
- How to Make a Paper Boat for Kids
- How to Make a Paper Boat Canoe
- How Do You Make a Boat Out of a Tissue Box?
- How to Make a Paper Boat FAQs
How to Make a Paper Boat for Kids
1. Select the Paper
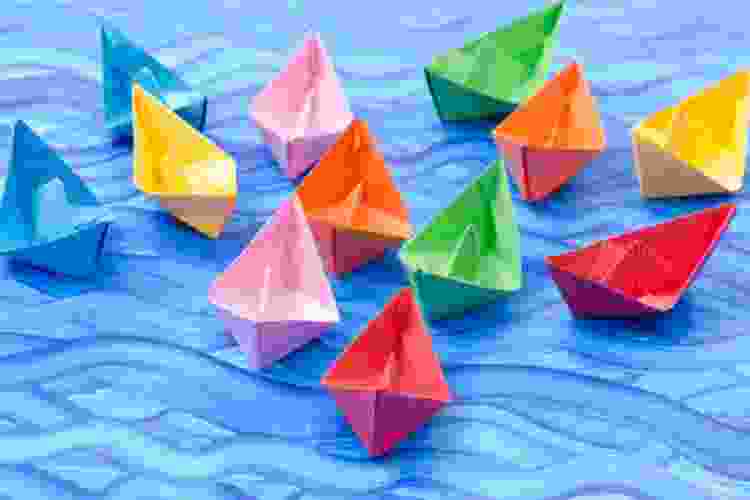
Selecting your paper is important when making a paper boat for kids. Regular-weight printing paper of 20-24 pounds in a square shape works fine, but it absorbs water quickly and can get soggy quite fast. Heavier-weight square construction paper is better for a boat that floats longer. You can also try wax or laminated paper when experimenting with how to make a paper boat. Both will likely float longer but will be the most difficult to fold.
2. Folding Instructions
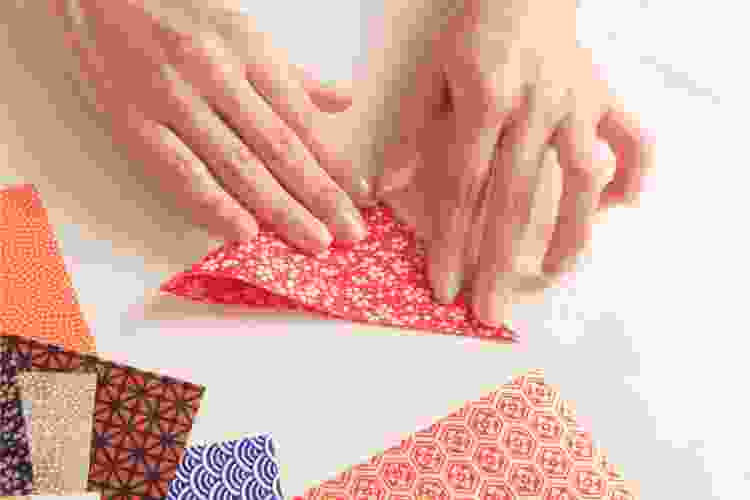
Folding requires the most practice when learning how to make a paper boat with square paper. Here's how to do it:
- Start with your rectangular piece of paper and fold it in half lengthwise.
- Next, leave this fold in place and fold it again, but this time in half widthwise.
- Crease the fold, then unfold your paper to reveal the center line.
- Fold the top corners of the paper downward to meet the center line. This creates a triangle.
- Below the triangle, fold the bottom edges of the paper upwards on both sides.
- Gently open the folded edges at the bottom to form a diamond shape, then flatten it.
- Finally, fold the bottom corners of your paper boat upward again and open the edges to create the final shape.
- Smooth the creases, and you have uncovered how to make a paper boat ready to test for floating.
3. Test for Floating
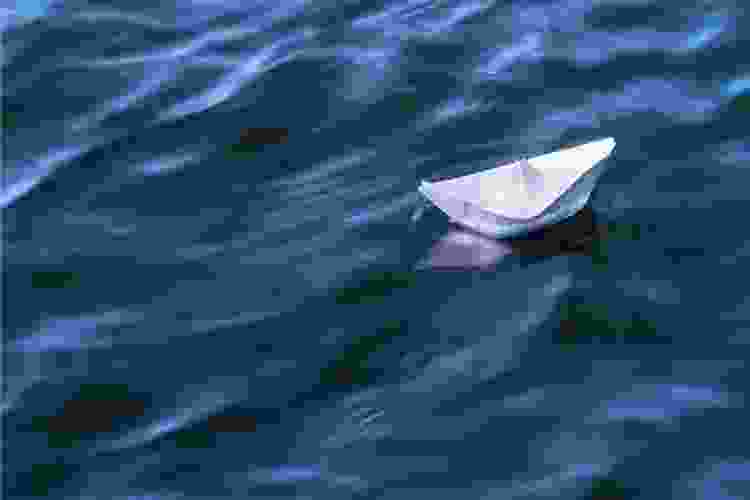
To learn how to make a paper boat that floats, you need to practice your folding techniques with different paper types and test your boat. Do this by placing it in water and timing how long it floats. You will likely find that thicker paper or coated paper floats longer, but any decorative features and even different folding techniques can impact the results you see.
How to Make a Paper Boat Canoe
1. The Shape and Weight of Your Paper
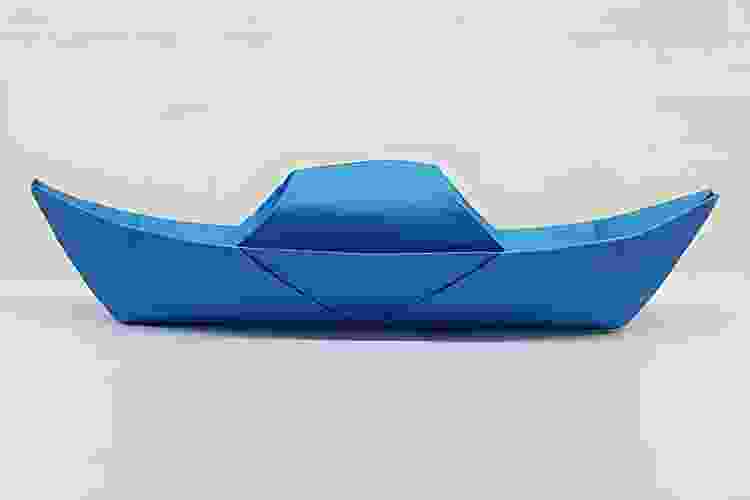
To learn how to make a paper boat in the shape of a canoe, start by choosing the right paper. For this type of boat, rectangular-shaped paper works best. The heavier the paperweight, the slower it will absorb water. Construction paper or light cardstock is ideal for this project, but lightweight printing paper works fine if your boat is for decorative purposes. Paper with a thick wax coating is an excellent choice if you want your boat to repel water and float for a more extended period of time.
2. Folding Your Canoe
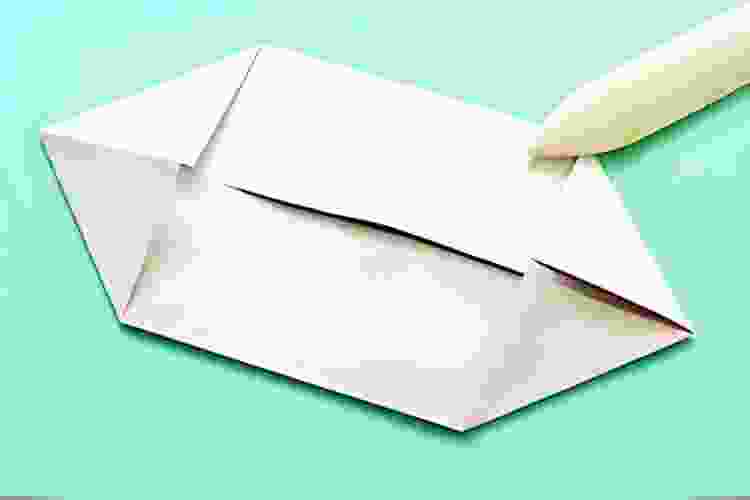
To start creating your canoe:
- Fold your rectangular piece of paper in half lengthwise. This creates a long rectangle.
- Next, crease the paper really well and unfold it.
- Afterward, grab hold of the top two corners and fold them down toward the center crease to form a triangle at one end.
- Repeat with the bottom two corners. You should have a symmetrical diamond shape.
- Fold both sides of the diamond inward slightly. This forms the curved sides of the canoe.
- Then, gently open the middle section to shape the canoe’s interior.
- Press on the creases to help you discover how to make a paper boat that stands upright.
- Adjust for stability; your paper canoe is ready to decorate and hit the water.
3. Decorate Your Paper Boat
Learning how to make a paper boat canoe can be a fun craft idea if you add decorative elements to it. Embellishments like buttons, glitter or gems, drawing on your boat with markers, or even making your own red paint or mixing brown paint are creative ways to make your canoe all your own.
It's important to remember that some of these decorative accents will impact your boat’s ability to float. Some might also not survive in the water. Still, experimenting to see what works is part of the fun process of learning how to make a paper boat, a great winter craft for kids.
4. Test to See if it Floats
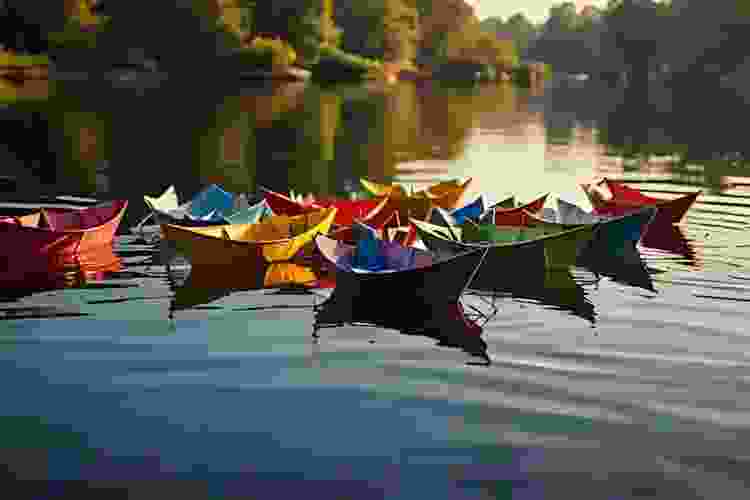
Place your canoe in a tub of water, a stream or your backyard pool to see how long it floats. Then, test to see if the weight of your paper or any decorative accents helps the boat float for a longer or shorter period. A stopwatch is handy during this step. Testing the boat is a fun way to work together, and it’s almost certain to lead to conversation and future experimentation.
How Do You Make a Boat Out of a Tissue Box?
1. Making a Tissue Box Paper Boat
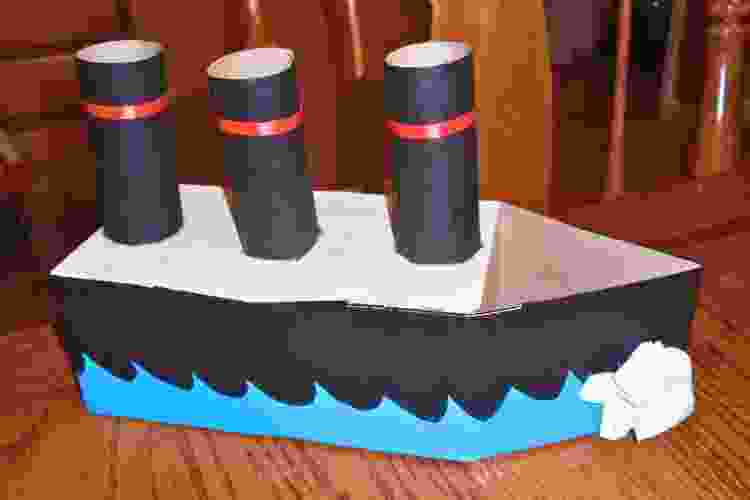
Recycled crafts are a fun way to teach children the value of reusing everyday items rather than throwing them out. Making a boat from a tissue box is a fun choice if you want to try one. To learn how to make a paper boat from a tissue box:
- Cut the top off, leaving the base and sides intact.
- Scissor-cut shapes into the top of the box to create a boat-like structure, tapering one end to form a bow.
- You can create sails and attach them using tape or glue to give your boat a little more pizzazz and help it stay afloat and move in windy conditions.
2. Can You Decorate Your Tissue Box Boat?
A tissue box boat is easily decorated using colorful paint or vibrant markers. If you plan to float your boat, make sure they are water-resistant. You can also add vinyl stickers, glued-on pieces of cardboard, glitter and other decorative accents. Use your imagination as you discover how to make a paper boat that is uniquely your own.
3. Will Your Boat Float?
A tissue box paper boat is typically relatively sturdy and can float, but how long it remains afloat in the water depends on the materials you use to craft it. Some decorative accents can inhibit the boat’s ability to float. The sturdiness of the box, depending on any previous use and the cuts you’ve made, might also impact the results you see. Lining the inside with waterproof tape or wrapping it in plastic wrap might prevent the boat from absorbing water too quickly and help it stay afloat longer.
How to Make a Paper Boat FAQs
Does a Paper Boat Sink or Float?

A properly constructed paper boat design typically floats when first placed in water. However, the paper will absorb water with time, changing the shape and form of your boat. Paper is inherently not waterproof, and this causes any boat to sink.
Water will break down the integrity of the fibers in the paper, causing your boat to lose its shape and stiffness. Failure to float happens when the paper boat design can no longer displace enough water to remain afloat.
What is a Boat Made by Folding Paper Called?
When researching how to make a paper boat with square paper, the word origami will likely come up. An origami boat is a paper boat craft made by folding rectangular paper. Britannica describes origami as the Japanese art of paper folding, where "ori" means folding and "kami" means paper.
Learning how to make a paper boat is a timeless and delightful way to pass the time and engage your children in learning. The activity sparks creativity and provides a sense of accomplishment. Whether crafting for fun, teaching kids about science concepts or creating decorations, this simple activity is engaging, relaxing and rewarding as you transform an ordinary sheet of paper into a charming little vessel. It will also spark conversation, making the activity fun for the whole family.
Starting to learn how to make a paper boat is simple with the tips we've provided. Experiment with various materials and types of paper. Play with colors and decorations to make each boat unique. What are you waiting for? Go ahead and grab some paper, fold your first boat and let your imagination set sail!
For even more fun craft ideas, check out other experiences happening on Classpop!

