How to Make a Paper Airplane That Is Unbeatable in 2025

Making paper airplanes can be a fun activity for children or adults alike, with many opportunities for experimentation and customization. Even better, you can create a paper airplane out of readily available and inexpensive printer paper or get more creative with other fun options like construction paper, wallpaper, wrapping paper, newsprint, magazine pages, maps and more.
Most plane designs take only a minute to make and are a great way to pass the time when you're bored at work or looking for a fun activity for kids to do. You can also add a little competitive spirit by testing your abilities against airplanes made by others.
How to make a paper airplane step by step? What makes a paper airplane fly farther? These easy paper airplane instructions below can help you understand how to make a paper airplane that both looks good, flies far and gets the max speed out of your materials.
They include fun approaches on how to make a paper airplane easy, how to make a paper airplane for kids, as well as more advanced techniques for swifter flying planes. Making paper planes can be a fun springtime or Easter craft idea. They can also be a fun way to combine arts and crafts for adults with a competitive spirit. You can also buy premade kits that feature materials and tutorials that make perfect gifts for crafters and kids.
Jump to Section
- How to Make an Easy Paper Airplane
- How to Make a Paper Airplane for Kids
- How to Make a Paper Airplane That Flies Far
How to Make an Easy Paper Airplane

How to make a jet using paper? The easiest way to make a paper airplane is to keep it simple. Start with an 8.5 x 11-inch sheet of regular paper. You can use basic white or colored printer paper or opt for construction paper, cardstock or newsprint, though each of these materials will add more or less weight to the plane that may affect its flight distance.
Steps
-
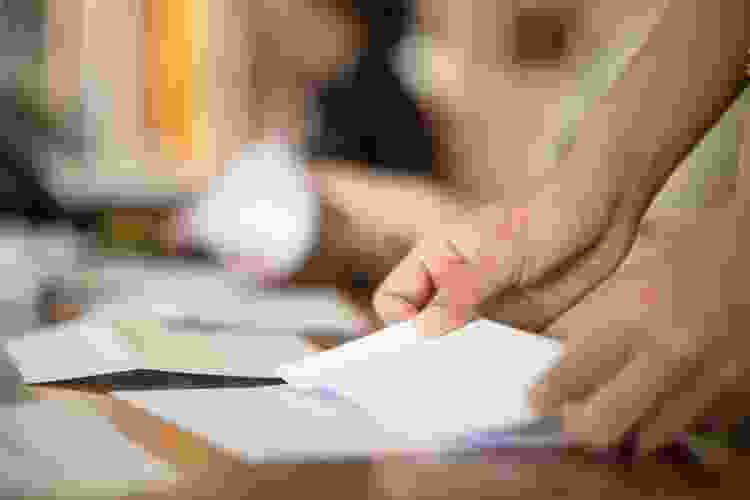
Begin by folding the sheet of paper in half, using a fingernail, scissors or a slender card to make the crease nice and sharp.
-
Unfold again and fold the top two corners inward, which will create an arrow at the top of the sheet.
-
Fold them in again toward the middle, creating an even sharper point on the top and forming the nose of your plane.
-
Refold along the center lengthwise line after you’ve created your point. Gripping the folded side, create your wings by folding down either side at the edges til they meet the bottom.
-
Crease them sharply, but allow them to stay perpendicular to the center of the plane to help the finished paper airplane glide smoothly. This is one of the most tried and true approaches if you are figuring out how to make a paper airplane easy and fast.
How to Make a Paper Airplane for Kids

How to make paper airplanes for kids? Paper airplanes are fun activities to create for or with kids since the construction details can be simple for younger makers. Use the basic airplane design above for beginners or the more advanced one below that can give you a distance advantage for older kids.
If you are worried about sharp and pointy edges, you can create a more snub-nosed plane by folding the top points inward slightly. This technique can create a longer gliding plane but may affect speed due to greater resistance.
With kids, the visual look of the planes is something to have a lot of fun with. Try using interesting papers like scrapbooking paper, old maps, newspapers or old wrapping paper. Feel free to hand draw or paint details and add colors when making paper airplanes. You can even add other fun elements like stamps and stickers, though keep in mind these may affect speed and distance if they add weight.
For a fun activity and experiment, use these various customizations to test how they affect flight as a science lesson on weight and aerodynamics for a classroom activity.
How to Make a Paper Airplane That Flies Far

Wondering how to make a paper airplane that flies forever? If you are wondering how to make a paper airplane that flies far or faster, you may want to try his slightly more advanced technique.
Steps
-
Begin by folding your sheet lengthwise, then inward at the top to create triangles similar to the simpler airplane above.
-
Instead of folding it again, however, fold the corners downward together, so that your piece of paper looks like an envelope.
-
Fold the top corners downward toward the center again to create a sharper point on top. There will be a small triangle left from the top portion in the center of the plane, so fold that upward to hold those other folds firmly in place.
-
Refold along the center line with the folded portions facing outwards, which will allow you to fold the outer edges inward again to create the wings. The success of this design to create a paper plane for greater distances lies in the greater amount of weight and paper at the front of the plane, which can help propel it further than the easy paper airplane design above.
-
After some flight experiments, you can test how to make it go further by creasing or bending the wings and other pieces at different angles.
Paper airplanes can be fun for all ages and easy to make in just a few seconds of folding, so grab a nearby sheet and start creating.
For even more fun activities, check out other experiences happening on Classpop!


