How to Frame a Puzzle: An Easy Guide in 2025

After spending hours fitting each piece together, you might want to know how to frame a puzzle and cherish the masterpiece rather than just breaking it apart. The good news is that it’s fairly easy to glue and set your puzzle for more long-term enjoyment. It’s a cheaper alternative to buying artwork and can be just as beautiful and colorful on your walls.
Some puzzles are fun to assemble, break apart and start all over again. But every now and then, you complete a puzzle so painstaking, that you just can’t even think about going through it again.
Whether you love the challenge and complete puzzles for fun or you simply enjoy zoning out and connecting one piece at a time, puzzles are actually good for you. The Baylor College of Medicine reports significant mental benefits from doing puzzles.
Not only are they a healthy distraction from technology but they improve spatial reasoning, concentration and short-term memory among other things. So go on and proudly frame that puzzle that took 15 hours to complete.
Turn it into a hanging piece of wall art or a colorful glass-top tray, a wonderful home décor gift. From custom puzzles made out of a family photo to a festive holiday puzzle, the possibilities are endless.
Nothing like a beautiful fall scene for some DIY fall décor. Or how about a jigsaw puzzle that shows off a snow-dusted cottage for a DIY Christmas village? It’s not too difficult to frame a puzzle, but your mind is likely buzzing with questions.
Can I frame a puzzle without gluing it? Do you glue the front or the back of the pieces? What kind of frame do you use to frame a puzzle? Read on to have all your puzzle-framing questions answered.
Jump to Section
How to Frame a Puzzle With Glue
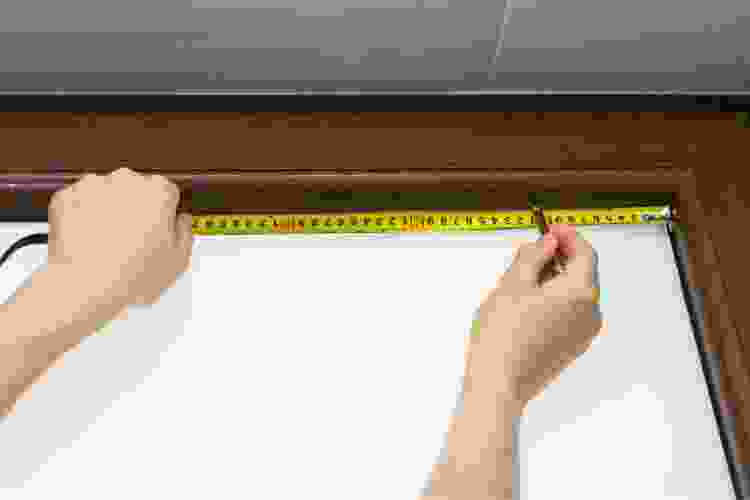
1. Measure Your Frame

Whether you’re framing a puzzle with glue or without it, you’ll need to make sure you measure your puzzle and frame to ensure it will fit properly. Since puzzle pieces are typically made of thin cardboard, your finished product is going to be thicker than a standard photo. You can use a shadowbox frame or fasten it in with z-shaped brackets. Other than that, you can use pretty much any frame you like.
2. Get the Right Glue
Did you know there is special glue just for puzzles? Regular old Elmer’s glue or Superglue aren’t ideal because of their higher water and acid content that can impact the delicate design on your puzzle or make it warp in the frame. Your local craft store should have exactly what you need. You could also try a spray-on adhesive, but that’s not as tried and tested as puzzle glue.
3. Spread the Glue
In addition to purchasing the right kind of glue, you’ll need to buy a glue spreader. Don’t just use a paintbrush as this can leave brush marks on the front of your puzzle and also cause too much glue to pool in certain parts, warping your final masterpiece.
After assembling your puzzle, set it over newspaper, cardboard or something that can get dirty and carefully spread your glue all over the top of the completed puzzle. Start by squeezing out a line of glue and spreading it from there.
4. Dry it Thoroughly
This step cannot be overstated. Let your glue dry thoroughly before you even think about touching it. If you aren’t positive that it’s dry, wait another day. Touching it before it’s dry can leave fingerprints or worse pull apart your design and damage it. Note, if your puzzle did get an unfortunate warp, flip the whole thing over (once dry) and apply glue to the backside just as you did to the front.
5. Mount the Puzzle
Finally, it’s time to frame your puzzle. You’ll need a thin, flat piece of foam or wax paper, measured just smaller than your puzzle. Turn your puzzle so the design is face down, then apply a thin, even layer of glue around the perimeter and gently press on your foam or wax paper. Adding a few heavy books on top while it dries can ensure it stays flat.
6. Fasten in Place
Once both sides are dry, including your mounting material, you can frame and mount your puzzle just like it’s a poster or picture. Depending on the frame you selected, your puzzle might be a bit too thick, in which case Z-shaped brackets will solve your issue,
How to Frame a Puzzle Without Glue

You can certainly frame a puzzle without glue, but it won’t be nearly as sturdy. If you just want a temporary solution that might still allow you to pull the puzzle apart one day, then there are a few things to know.
1. Flip Your Puzzle
This is going to be the trickiest part of framing a puzzle without glue: carefully flipping it face down. Use a piece of cardboard or paper on the face to neatly do this.
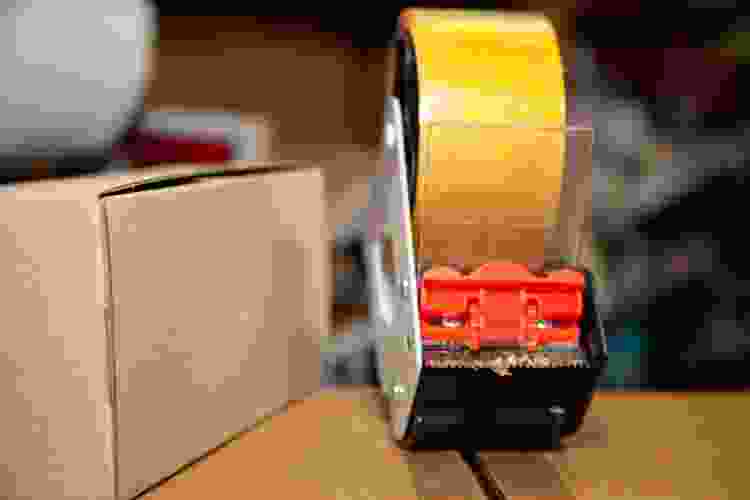
2. Get Strong Tape
Regular everyday Scotch tape isn’t going to cut it here, so get yourself some strong packing tape. Then, carefully cover the back of your puzzle with the tape. The nice part is you don’t have you don’t have to wait for it to dry.
3. Frame Like Usual
You’ll want to secure your taped puzzle to a thin piece of cardboard or something similar to display it in your frame, and you should be able to secure this part with tape as well. Just take care not to layer the tape on too thick so your puzzle doesn’t lie flat.
Looking for more creative ways to display your projects? These DIY picture frame ideas can help turn your favorite crafts and puzzles into beautiful home décor.
If you’ve ever looked into commissioning an art piece, you know they can get expensive. Yet that 1000-piece jigsaw puzzle comes together to create a true masterpiece for a lot less. Learning how to frame a puzzle gives you the chance to be truly involved in your DIY home décor. Now you can treasure the hours put in for as long as you like, proudly displayed on your walls.
For even more fun DIY ideas, check out other experiences happening on Classpop!


