The Best Flower Photography Tips for Beginners for 2025
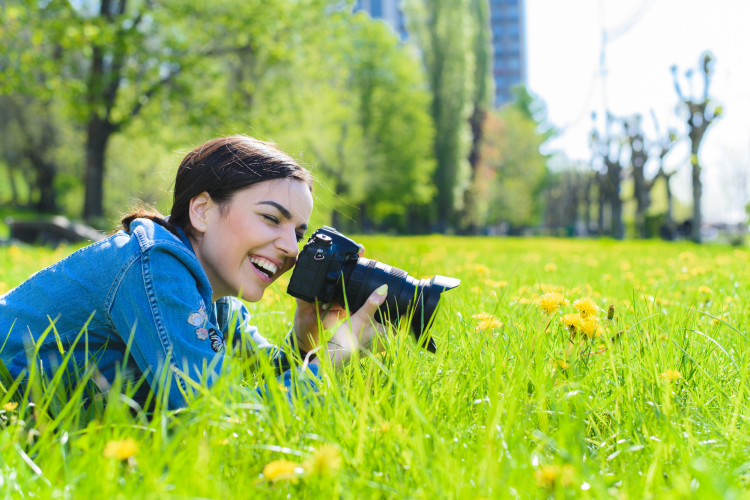
From the first buds of spring and fields of summer blooms to the bold colors of autumn and the bright poinsettias of winter, there are plenty of opportunities year-round to explore the art of flower photography.
You don’t have to travel far to find beautiful and interesting subjects to capture in this offshoot of landscape photography. You can start in your own backyard or a nearby park or garden.
Flower photography can be easily accessible for beginners with enough complexity to intrigue everyone from hobbyists to professional photographers.
How do you take the best pictures of flowers? Part of the art and challenge of photography is understanding how to manipulate different elements to create a stunning image.
Decisions of which angles and lighting to use and how to adjust the settings on the camera from the size of the lens to the shutter speed dramatically affect the final photo.
By exploring the best photography tricks and advice shared by experienced photographers, you can learn how to develop the skills and artistry to master flower photography.
Jump to Section
- How Do You Take Good Pictures of Flowers?
- What Can You Do With Flower Photography?
- Flower Photography Settings
- Flower Photography Lenses
- Close-up Flower Photography
- Black and White Flower Photography
- Unique Flower Photography Ideas
- Creative Flower Photography Ideas at Home
How Do You Take Good Pictures of Flowers?
Starting a new creative hobby or exploring new art ideas can be intimidating and overwhelming, especially one with technical components such as flower photography.
However, with a little expert guidance and playful experimentation, you can quickly begin to enjoy this fun and rewarding activity as you continue to develop your skills.
Familiarize Yourself With Your Camera
Especially if you are new to photography, you will first want to spend time getting to know your camera. Once you are familiar with your camera and the ways adjusting the lens or settings can affect the outcome of a photograph, seek advice from experienced photographers as you continue to deepen your understanding of the art.
Try a Photography Class
The best way to begin taking good pictures of flowers (or anything else) is to expand your knowledge of photography.
There are so many resources available to help understand the technical aspects of this unique form of art from individual research to online photography classes and in-person photography classes near you.
Photography classes are a fun and efficient way to improve your skills with knowledgeable instructors who can guide you toward best practices and inspire your creativity.
Explore photography classes in Austin, photography classes in Houston, photography classes in Los Angeles or wherever you're located.

Practice With Angles, Lenses, Lighting and More
Once you have built some confidence with your camera, it is time to practice! Put your skills to use as you try different lenses, settings, angles, types of light and more.
Another way to learn how to improve your photography is to examine photographs that appeal to you that others have created. Think about the angles the photographer used and the type and direction of light.
What attracts you to this photograph? You can learn a lot by breaking down what you like about an image and putting those ideas into practice in your own photographs.
What Can You Do With Flower Photography?
Photographing flowers is a fun, creative and sometimes challenging activity that can result in beautiful pieces of art. Once you have sharpened your skills and created images you are proud of, you might show them off on social media or frame them to decorate your home.
You might even find that you can make some money from your photography by selling it as art prints locally or online or even creating images to sell to businesses from seed catalog distributors and landscape companies to advertising agencies and magazines.
Whether you want to explore photography as a hobby or how to become a photographer professionally, practicing flower photography is a great way to strengthen your skills and inspire your creativity.

Flower Photography Settings
Flower photography is a great way to learn photography for beginners, as it allows you to work with a simple subject and become familiar with the capabilities of your camera settings.
As with any style of photography, the settings you choose depend on the image you want to present. Consider what drew you to that flower, how it makes you feel and what you want to convey in your image as you make adjustments to create your photograph. This is especially helpful at the beginning when you're first learning how to find your art style.
What is the Best Aperture for Flower Photography?
A lot of the best cameras for photography feature many settings. The aperture refers to the opening of the camera lens which functions in controlling the exposure of light, adjusting depth of field and determining the sharpness of an image. A large aperture setting reduces the depth of field, which adds softness or blur to the background.
For many photographers dabbling in flower photography, a good place to start is with the widest setting. However, this setting may leave some of the subject out of focus.
To adjust, take a step or two away from your subject, although you may find that you lose some of the details in your image with the distance. Try closing in a stop or two as you determine the best setting for the picture you want to capture.
As with many aspects of photography, the best way to learn is through trial and error. With practice and experience, you will begin to identify your favorite settings for different types of photographs.
What is the Best Shutter Speed for Flower Photography?
To achieve images with the crisp detail many photographers strive for in flower photography, you will need fast shutter speeds.
Shutter speed refers to the length of time the camera shutter is open and exposing light to the camera sensor. This setting is responsible for changing the brightness of a photograph and contributing to the sense of motion through sharpness or blur.
For flower photography, the recommended range for shutter speed is 1/200-1/800.
When determining shutter speed for flower photography, you will also want to make considerations for external factors such as the intended brightness for the image, unattractive backgrounds that may detract from your picture and the potential for blowing out highlights in the photograph.
Flower Photography Lenses
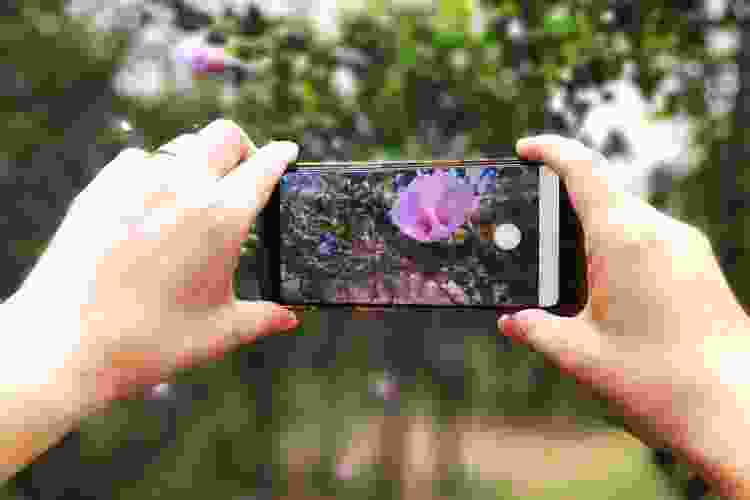
When choosing a lens for flower photography, “the best lens is the one that you have,” Elaine Landsown quips in Photography Life. The lens you select when practicing flower photography should provide a good level of detail whether you are working with a zoom or dedicated macro lens.
Zoom Lens
Like every decision you will make as you compose your photographs, the choice of lens will be determined by the final image you want to present. Landsdown prefers working with a 28-300mm zoom lens due to the wide range of flexibility it offers while composing each shot.
Macro Lens
You might be interested in adding a macro lens to your collection if you will be doing a lot of macro photography or photography that is very close-up.
When selecting a macro lens, it is recommended that you look for the largest possible working distance to allow for flexibility in focal length. The preferred range for macro lenses for many macro photographers is 100mm to 150mm with 105mm being a popular choice.
Close-up Flower Photography
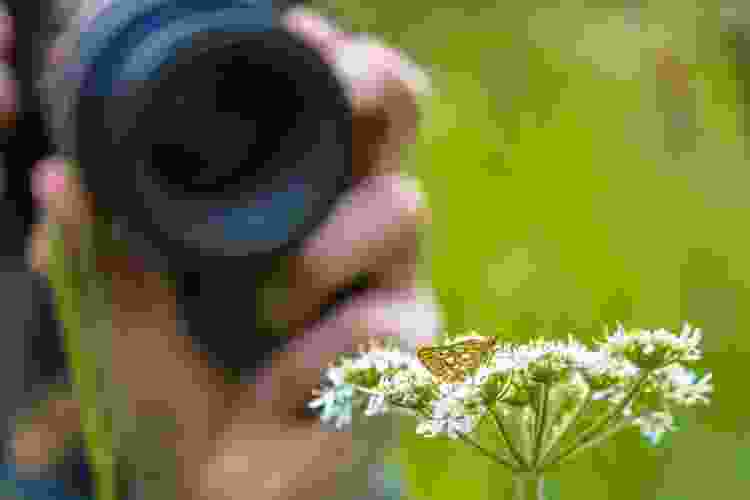
Sometimes referred to as macro photography, close-up photography can provide striking images full of intricate detail from the subtle texture of a flower petal to the powdery wisps of pollen along the stamen.
When photographing a flower close-up, you will want to consider your options for depth of field, background presentation and the stability of your camera.
Depth of Field
Depth of field is determined by your aperture setting, the lens you are using and the distance from the camera to the subject and its background.
You can use lower apertures in the range of f/2-f/6.3 to achieve selective focus, for example, to bring one element of the flower into sharp focus such as an interestingly curled petal or pollen-heavy anther.
To bring the entire flower into focus, opt for a higher aperture setting such as those in the range of f/11-f/22. Experiment with your settings and distance from the subject until you find the image you are trying to capture.
Background
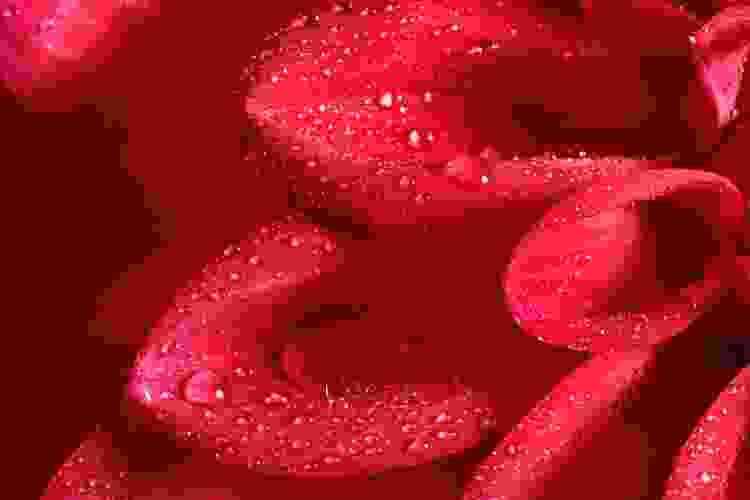
Especially when working with a flower close-up, you will want to pay special attention to the background of your image. A distracting or unattractive background can detract from the main subject and overall picture.
In order to achieve a smooth, pleasant background, there are a few techniques you can try when setting up your shot:
- Reposition yourself as you work around bright spots, distracting branches or unwanted elements.
- As you begin to frame your image, experiment by moving the lens around and noting how different positioning alters the appearance of the background.
- You can also adjust your aperture settings to assist with softening the background of your image. Lower apertures will result in more background blur.
- Moving in closer to your subject can also help with eliminating a distracting or unattractive background by simply limiting its presence in the frame. This can also help to direct the eye of the viewer to your intended focal point of the photograph.
Professional macro photographer Spencer Cox offers creative tips for enhancing your background in Photography Life, such as adjusting your angle to use the natural colors of the sky or grass as a backdrop or talking a friend with a colorful shirt into standing behind your subject.
Tripod vs. Hand-Held
Close-up flower photography is generally sensitive to light and movement. Therefore, the photographer must make an important choice between using a tripod or taking the photographs hand-held.
Tripod
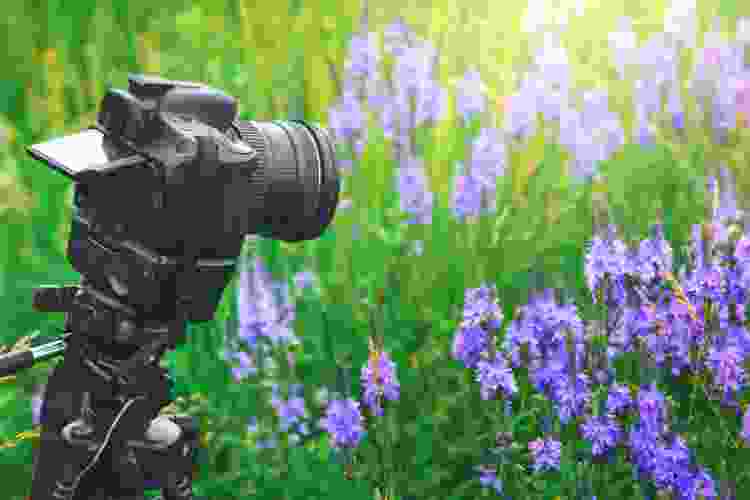
Each option has its pros and cons, although it is recommended that beginners or those with unsteady hands opt to use a tripod. Tripods are a great way to reduce camera shake and help support heavy cameras and lenses.
Using a tripod allows you to experiment more easily with aperture settings and is recommended for low light and/or higher aperture settings. However, tripods can be somewhat clunky to move around and time-consuming to adjust.
Hand-Held
Those with steady hands who prefer working in the lower aperture ranges might find success with hand-held, close-up flower photography.
Working hand-held allows you to get into angles or positions that would be difficult or impossible to achieve with a tripod. It is also faster and easier to move around and adjust your distance when working hand-held.
Black and White Flower Photography
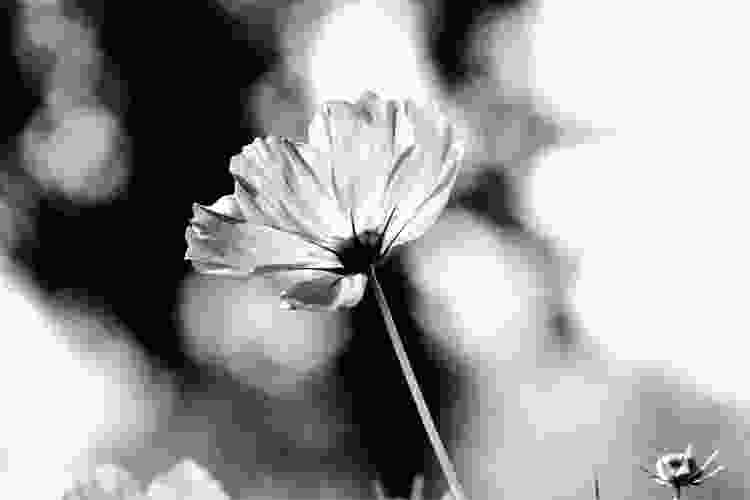
The unique art of black and white flower photography highlights the shapes, textures and tones of a subject rather than its bright or bold colors. Black and white photography can also be used to set a mood and evoke emotions while forcing the viewer to focus on other elements by de-emphasizing color.
While some of the work for black and white flower photography will be completed in editing, you will still want to consider a few factors while capturing your images.
Bold Lighting
Achieving stunning black and white photographs, especially in close-up or macro photography, deeply depends on light. Because black and white photographs look best with high contrast, you will want to capture images with bold lighting.
In this scenario, you can ignore the common advice of seeking out golden hour light and instead embrace side-lighting, back-lighting and the harsh light of midday. Shooting into the light is another good way to capture high contrast with interesting shadows.
Contrasting Backdrops
You can also create contrast by photographing flowers against an opposite background. For example, if you are capturing a dark colored rose, you will want a light backdrop and vice versa. You can easily achieve this opposite backdrop effect by using what is around you.
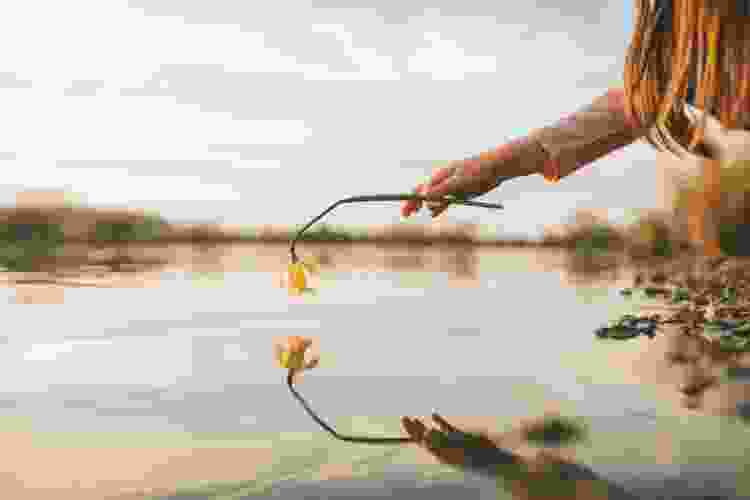
If you are photographing a dark-colored flower, use a light-colored backdrop such as the sky or a reflective lake. If your subject is light, make sure your background is dark whether it is the muddy ground or a shadowy tree.
Simple Composition
Composition is key in all types of photography, and black and white photographs are no exception. Choosing a singular focal point helps create a striking final image.
You will also want to ensure the background is uniform and not distracting from the subject to create that high contrast that is a signature of stunning black and white photographs.
Macro and nature photographer Jaymes Dempsey shares more tips for composing gorgeous black and white photographs on Expert Photography.
Unique Flower Photography Ideas
Some of the best flower images are the photographs that are unique and unexpected. Creative flower photography incorporates interesting details and techniques that add a little more artistry to the image.
With practice, creativity and experimentation, you can create intriguing, elevated flower and plant photography.
Paint With Light
Light painting uses a long exposure of a dark scene that contains a moving light source to illuminate a subject. You are essentially using handheld lights to “paint” the scene while the shutter is left open over a long period of time.
Digital Photography School shares how to use slow shutter speeds, a flashlight and a reflector to practice a version of this technique at home.
Add Water
Something as simple as a spritz of water can liven up your flower photography by adding even more visual interest and texture to the image.
To capture images with natural water droplets, venture out in the early morning dew or shortly after a rain shower. You can also gently spray your subject with some water before playing around with the way the light reflects and sparkles from the droplets.
Show Movement
Although wind might seem like the enemy when trying to practice flower photography, consider embracing the movement to capture an interesting image. Use the wind to your advantage along with a slow shutter speed to create a dynamic photograph of flowers blowing in the breeze.
Play With Perspective
Create a piece of abstract art with your photography. There are many creative ways to approach abstract flower photography from getting really close to the subject and focusing on a single element to isolating only a small part of the subject such as a few petals or just the stamen.
You can also experiment with blurring the colors by purposefully shooting out of focus or even spinning the camera or incorporating other movements while capturing the image. These types of photos intrigue the viewer by presenting a unique perspective or unexpected interpretation of the subject.
Creative Flower Photography Ideas at Home
Flower photography requires little equipment and can easily be practiced in your own home. From houseplants to the blooms in your backyard, interesting subjects for flower and plant photography are readily available without even having to leave home.
Take some time to walk around your house or yard while bringing a purposeful awareness to your surroundings. Let your observations inspire you as you get creative with your camera.
Photograph a Flower's Life Cycle
An advantage of having the subject of your photography nearby is that you can easily return to it day after day. Consider choosing a subject to photograph throughout its life cycle by capturing an image of the same flower each day from bud to bloom and even into decay.
Photograph Indoor Bouquets and Vases
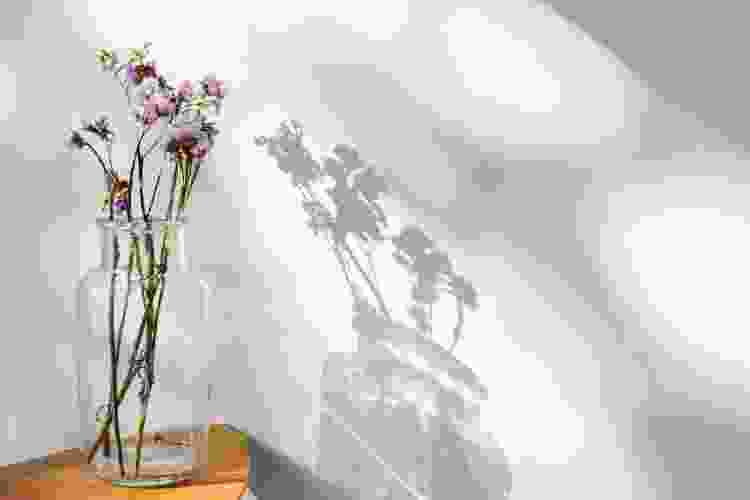
If you are missing those spring blooms in the dead of winter, bring home a bouquet or make your houseplants the star of your flower photography. Photographing flowers indoors is another opportunity to experiment with other types of lights as well as unique angles and perspectives.
You can also arrange your indoor flowers to play with color schemes and contrasts, add interesting props or vases and move them around to try out different backgrounds.
Photograph at Different Times of the Day
Working with the same subject at different times of day is a great way to explore how light affects your photography. Choose a flower and take a picture of it in the early morning, at midday, in the late afternoon and around dusk to see how light can change the feeling of a photograph.
Tip: This is also a prime opportunity to practice adjusting your camera settings to account for different amounts of light.
There is no one ideal method for creating gorgeous flower photography. Compose your images in a way that brings you joy, conveys the feelings you want to inspire and brings your vision to life.
Use these essential flower photography tips, techniques and styles to experiment and create images that are uniquely yours as you explore your art.
For even more creative ideas and inspiration, check out other experiences happening on Classpop!

