How to Make a DIY Potters Kiln at Home in 2025
Making a DIY potter’s kiln is a fun way to explore a new hobby or expand your pottery-making skills, and with modern resources, building one has never been easier. This creative endeavor allows you to fire pottery at home and create unique pieces for gift-giving, functional use or home decorating. It's an exciting project that combines craftsmanship, ingenuity and creativity. The project also offers beginner potters a cost-effective way to experiment and create new masterpieces at home. This guide will walk you through the steps to create your cost-effective DIY potter’s kiln safely and effectively, right at home.
Jump to Section
- How to Make a Homemade Kiln for Wood
- How to Make a Homemade Kiln for Glass
- How to Make a DIY Propane Kiln
- How to Make a Brick Pottery Kiln
- How To Make an Electric Kiln for Pottery
- DIY Potters Kiln FAQs
How to Make a Homemade Kiln for Wood
1. Choose the Location

When constructing a DIY potter’s kiln for woodworking projects, the location in your space is critical. Choose a flat, open space and ensure no flammable materials are nearby. The area must be well-ventilated and accessible for loading and unloading your wood. Clear any debris from the area before getting started. For safety reasons, having a fire extinguisher close by is also a good idea. If you have an outdoor area covered, this can help protect your projects and DIY potters kiln from wind and weather.
2. Construct the Frame for Your DIY Potters Kiln for Wood
Build a sturdy frame for your DIY potter’s kiln. Wood, metal or PVC pipes are good material choices that are easy to find at most home improvement stores. For small-scale operations, a simple box-shaped structure works well. If your planned projects are larger, adjust the size of your kiln accordingly. Use screws or bolts to secure the frame, ensuring it can support the weight of the wood and any additional materials like insulation or plastic sheeting.
3. Add Insulation, a Cover and Ventilation
Insulating your DIY potter’s kiln is essential for heat retention and efficiency. Without proper insulation, your projects may not fire to the correct temperatures, meaning glazes may appear dull, and your projects might be brittle. Materials such as rigid foam boards, fiberglass insulation or even layered cardboard work well for this step. Attach the insulation to the inside walls of the frame. Leave enough room for airflow. Then, add a cover to the flame. This will allow sunlight to heat the kiln’s interior. Drill a few holes in your DIY potter’s kiln to allow for ventilation. This will help your wood to dry properly.
4. Heat and Wood
An electric or propane heater can be added to your DIY potter’s kiln. This is especially important if you have built your kiln in a more shaded spot or under cover. Once your heat source is adequate, stack the wood on spacers or a slatted surface to allow air circulation around each piece. Using a single layer or staggered stacks ensures that no pieces touch. This setup maximizes exposure to heat and airflow, leading to more uniform drying. If this process seems confusing, consider taking a pottery class in Boston, NYC, or a pottery class in your city to understand it better and all the steps involved in your woodworking projects.
How to Make a Homemade Kiln for Glass
1. The Kiln’s Location

Building a DIY potter’s kiln for glass projects like fusing, slumping or annealing is creative and rewarding. These projects are more advanced, so consider starting with a ceramic kiln or seek advice from someone with knowledge about glassmaking. The first step in this process is to select the right location for your kiln. It needs to be well-ventilated, fire-resistant and free from flammable materials. Use a metal stand or firebrick base to ensure the space is heat-resistant and protect your floor.
2. Constructing Your DIY Potter’s Kiln for Glass
After securing a location, construct your DIY potter’s kiln by building a sturdy frame using fire-resistant materials like metal sheets or thick ceramic tiles. Repurpose a large metal container, like an old oven or metal drum, as the frame for a simpler and cost-effective design. These items can sometimes be found at a local recycling yard. Line the interior of your DIY potter’s kiln with firebricks or ceramic fiber insulation. Create a door or lid for your DIY potter’s kiln for glass using a combination of firebricks and metal. The door should fit snugly to minimize heat loss.
3. Heat Source and Temperature Control
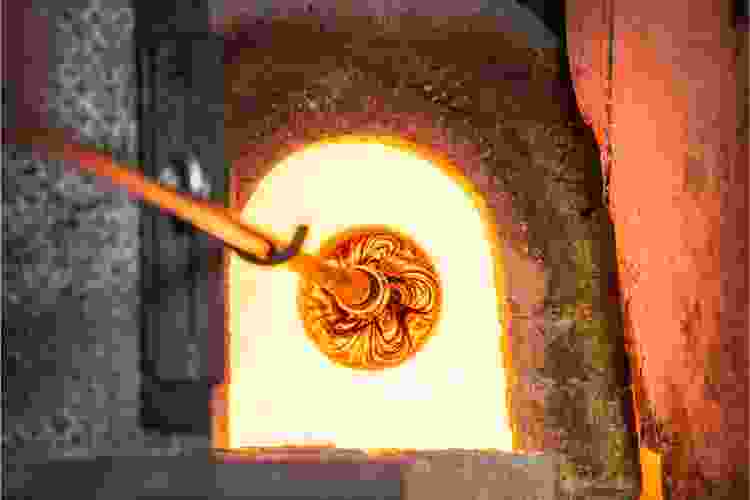
Glasswork requires reaching precise temperatures between 1,300°F and 1,700°F, depending on the specifics of your project. Electric heating elements are the most common choice for this style of DIY kilns. Add a temperature controller or kiln controller to regulate the heat accurately. Seek advice from a professional if you are uncertain how to source your heat and add the proper elements to your DIY potter’s kiln. Many pottery classes in the Bay Area, San Francisco and Los Angeles are available to help you better understand the intricacies of working with glass.
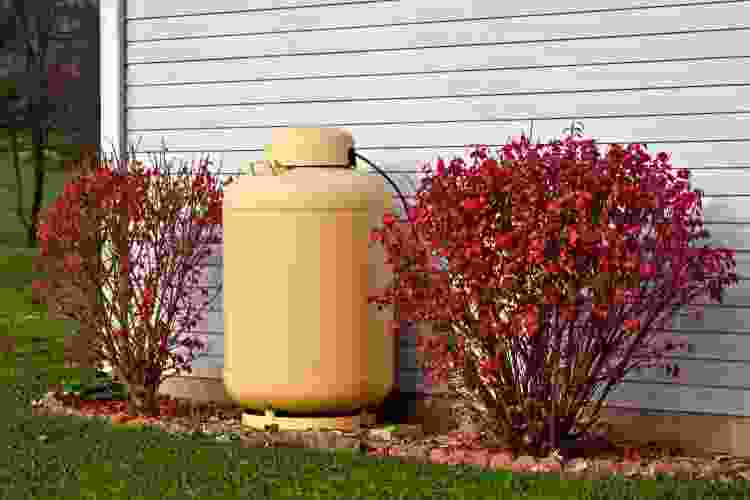
How to Make a DIY Propane Kiln
1. Select a Location
When building a DIY potter’s kiln for hand-building pottery projects, ceramics or metal annealing, choosing the location is an essential first step. Outdoor areas that are covered are best, as using propane means you will be working at very high temperatures. Keep the kiln away from too much foot traffic and combustible or flammable materials. Sit your DIY potter’s kiln atop a heat-resistant surface like a thick slab of concrete or a secure brick patio.
2. Construct the Propane Kiln
Decide on the size and shape of your kiln based on your project needs. Common designs include cylindrical metal drum kilns or rectangular-shaped kilns with firebrick interiors. A recycled, empty propane tank also works well for a DIY potter’s kiln. Consider the size of the pieces you intend to fire and ensure that the space allows for ventilation and proper heat distribution. Line the inside with firebricks or refractory ceramic fiber for insulation. It needs to fit snugly and securely. Fabricate a door or lid to place your materials inside the kiln for firing.
3. Install a Propane Burner
Cut a hole in your DIY potter’s kiln that is slightly larger than the propane nozzle in the lower side of the kiln frame to accommodate the propane burner. Position the burner at a slight angle to promote a swirling flame pattern. This can aid you in distributing heat evenly throughout the kiln. Connect a propane burner to a propane tank using a regulator and high-temperature hose. The burner needs an adjustable valve to control the gas flow and flame intensity. Test this separately to ensure it functions properly before installing it in the kiln. Add a thermocouple to monitor the heat and ensure your kiln reaches the correct temperature.
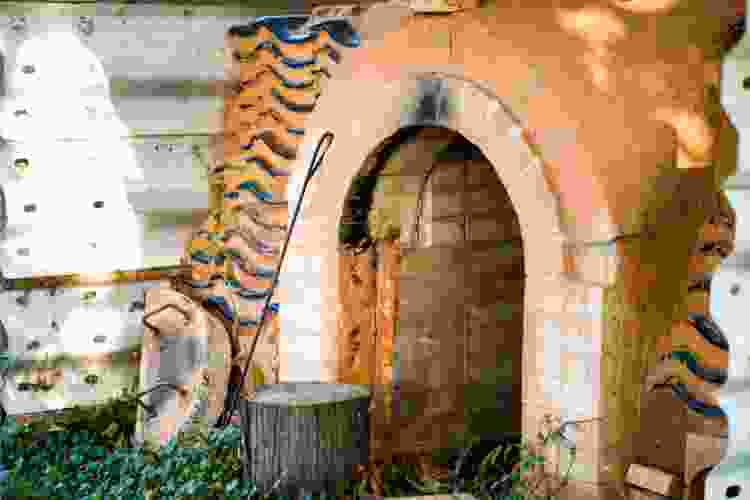
How to Make a Brick Pottery Kiln
What Brick Kilns are Used For
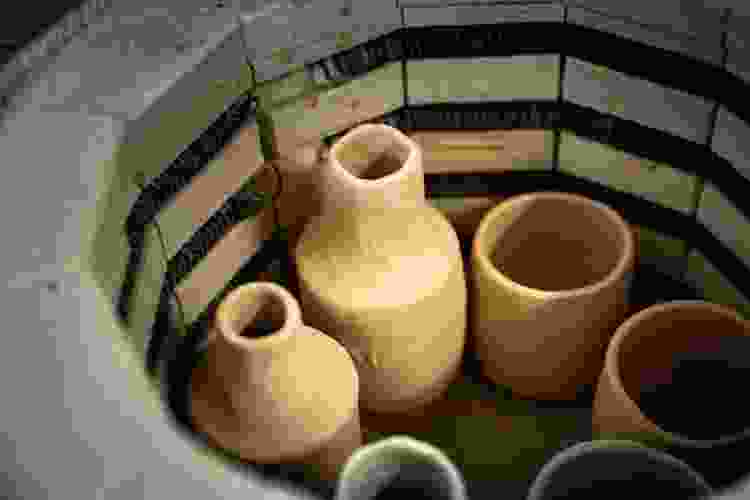
A brick DIY potter’s kiln is the ideal choice for firing ceramics, one of the steps that typically follows glazing pottery. You can construct your brick kiln as a beginner, and it is also a fantastic option for more advanced pottery makers. This kiln-building method uses heat-resistant bricks, which are carefully constructed to ensure consistent results. To build your kiln, gather firebricks or refractory bricks, high-temperature mortar, a metal grate and insulating materials. The bricks must be rated to withstand high temperatures (up to 2,000°F or more) to prevent cracking during firing.
1. How to Build a Brick Kiln for Pottery
Building your kiln out of bricks begins with finding the right space to construct it in. Start with a cleared, level, heat-resistant area where you’ll construct your DIY potter’s kiln. Lay one base layer of bricks on the ground in a square pattern. It is imperative that you ensure this layer is level, as it will serve as the base for your project. Then, stack more bricks to form the walls of your kiln. Use an interlocking pattern for stability and leave small gaps near the bottom for air circulation. Secure the bricks to each other using mortar. Adding a removable panel works well, giving you a door to load your projects. Create it with firebricks stacked loosely or attached with hinges for a more permanent solution. Ensure it fits snugly to minimize heat loss.
2. Grate and Chimney
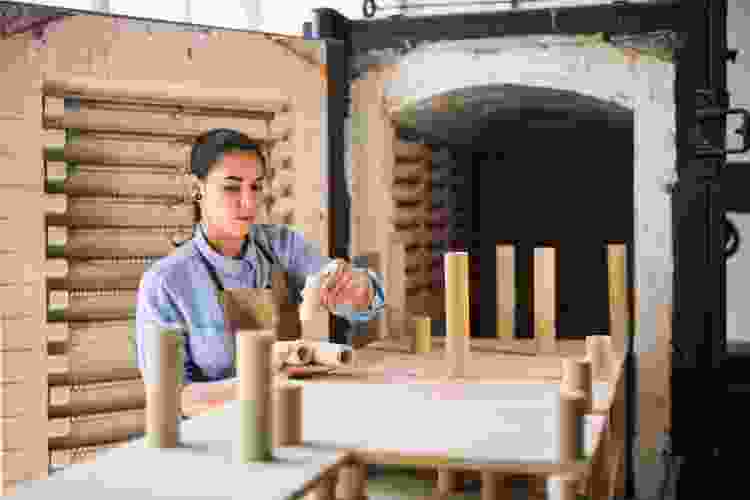
Place a metal grate or perforated shelf above the bottom vents of your DIY potter’s kiln. This grate supports the fired materials and circulates heat and air evenly. Build a roof for your kiln using more bricks. Add a small chimney or vent, essentially a short stack of bricks or a small opening, at the top of the kiln. The chimney allows excess heat and gases to escape, promoting safety and helping your projects to fire accurately. Place your project inside of the DIY potter’s kiln to fire. Once you’ve fired your pottery, you can explore creative pottery painting ideas.
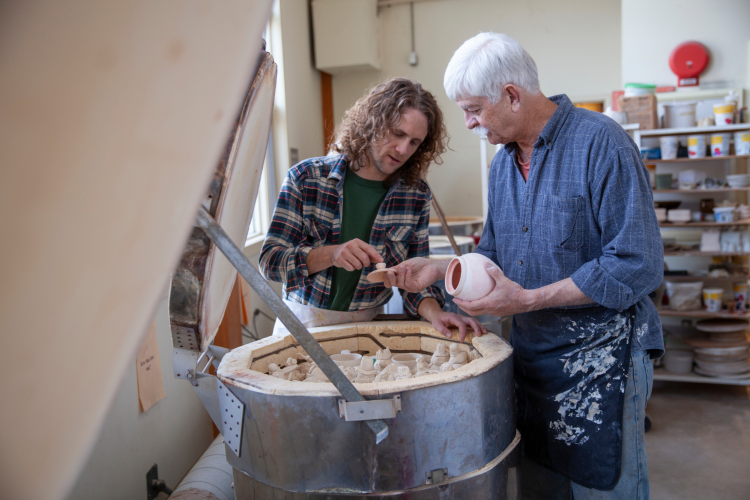
How To Make an Electric Kiln for Pottery
1. Materials for an Electric DIY Potter’s Kiln
Electric DIY potters kilns are versatile tools for firing pottery, ceramics, or glass projects at precise and consistent temperatures. To make your own, first gather a few supplies. You will need firebricks or refractory ceramic fiber for insulation, sheet metal, nichrome or kanthal wire for heating elements, a temperature controller with a thermocouple and high-temperature cement. All materials must withstand temperatures of 2,000°F.
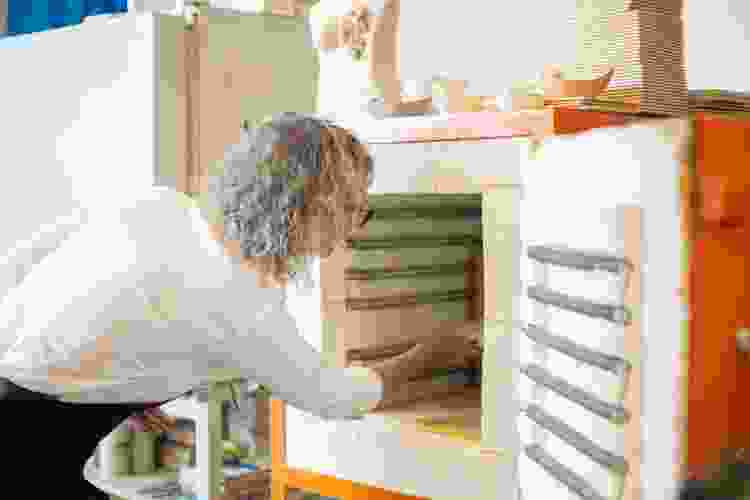
2. Assemble Your Electric Kiln
Construct the outer frame using sheet metal. Cut an opening for the door of your DIY potter’s kiln and add small holes for ventilation and slots for the heating elements and thermocouple. Completely line the interior with firebricks or refractory ceramic fiber for insulation. Firebricks are durable and provide excellent heat retention, while ceramic fiber is lightweight and easy to handle. Use high-temperature cement to secure the insulation to your kiln’s interior. Add a door to move your projects in and out of the kiln easily.
3. Heating Elements

Your DIY potters kiln requires an electrical heating element. Cut grooves into the firebrick to house the heating elements. Using precision, wind the nichrome or kanthal wire into coils. They need to be evenly spaced to provide uniform heat. Place the coils into the grooves, leaving room to connect the ends to the electrical terminals. Avoid overlapping the coils, or you risk overheating your kiln.
Connect the heating elements to a temperature controller and your power supply. Use heat-resistant wiring and insulators to handle temperatures upwards of 2,000°F. Install the thermocouple inside the kiln, positioning it away from the heating elements to measure the internal temperature of your DIY potter’s kiln. Connect the thermocouple to the controller. This will allow you to monitor and regulate the heat.
DIY Potters Kiln FAQs
Can You Make Your Own Kiln for Clay?

Yes, you can make a DIY potter’s kiln for clay in your yard at home. You can dig a hole in the yard and layer it with sawdust, place your clay inside and cover it with more combustibles. Ensure that your area is clear of too much foot traffic and free from flammable materials.
Other methods include using bricks to build a kiln or converting a metal trashcan into a DIY kiln. The pottery is placed inside a metal trashcan that has been filled with combustible materials. This method mimics pit firing but is more contained and manageable in smaller spaces.
What Can You Use Instead of a Kiln for Pottery?
If you cannot access a DIY potters kiln, there are other ways to fire your pottery. They include air drying, oven baking and campfire firing pottery. For smaller projects, a torch-firing technique is sometimes sufficient. A handheld propane or butane torch can effectively fire certain types of clay, such as self-hardening or low-fire clay. This method is quick and suitable for beads or small sculptures. While typically effective, these methods are less precise, so they may result in an inferior finished piece or glazing results. When in doubt, find a studio in town with a kiln and sign up for classes or pay a fee to use their professional materials.
How Much Does a Potter’s Kiln Cost?
Depending on the design and professional capabilities, Potter’s kilns can be costly or cost-effective. They range in price from $500 for a small electric kiln, like those used for beginner’s pottery making, to upwards of $15,000 for more professional wood-fire kilns. DIY potters kilns can range in price from zero dollars for pit fire kilns to about $1,000 for all the materials needed to make a brick kiln. Consider using recycled materials, such as an empty propane tank or a repurposed metal drum, to cut costs.
Can I Use My Oven as a Kiln for Pottery?
Your home electric or gas oven is a suitable kiln for pottery ideas and pottery-making projects that include hardening non-traditional clays. Examples include polymer clay or air-dry clay. However, traditional clay requires much higher temperatures, so using an oven as a DIY potters kiln will not work. The heat in a standard oven is often inconsistent, and many standard ovens cannot reach high enough temperatures.
Attempting to heat a kitchen oven to temperatures that simulate a kiln can pose serious safety risks, including electrical or mechanical failure, fire hazards and exposure to toxic fumes. Most ovens are not designed to handle the stress of prolonged high temperatures or the chemical byproducts of firing clay. Any contaminants from clay or glaze can also transfer to your food and pose safety risks if consumed. If you decide to use your oven, follow the safety precautions as the NFPA recommends. Stay alert, remain close to your kitchen while your oven is on and have a fire extinguisher nearby.
Creating a DIY potter’s kiln for your home is a creative, rewarding and cost-effective way to bring your artistic visions to life and discover a new hobby. While the process requires specific materials, careful planning, attention to safety and an understanding of temperatures, the result is a custom-built and unique kiln that meets your project needs.
Whether you are experimenting with pottery, glass or woodworking as a beginner or refining your skills to attempt more advanced projects, a homemade kiln offers the freedom to explore firing techniques and achieve unique gift-giving and home decor results. As you build your DIY potter’s kiln, prioritize safety, follow proper guidelines and embrace the learning process — every step brings you closer to mastering the art of pottery making and design.
For even more fun pottery ideas, check out other experiences happening on Classpop!